Tuesday, January 25, 2011

A Shot of Life


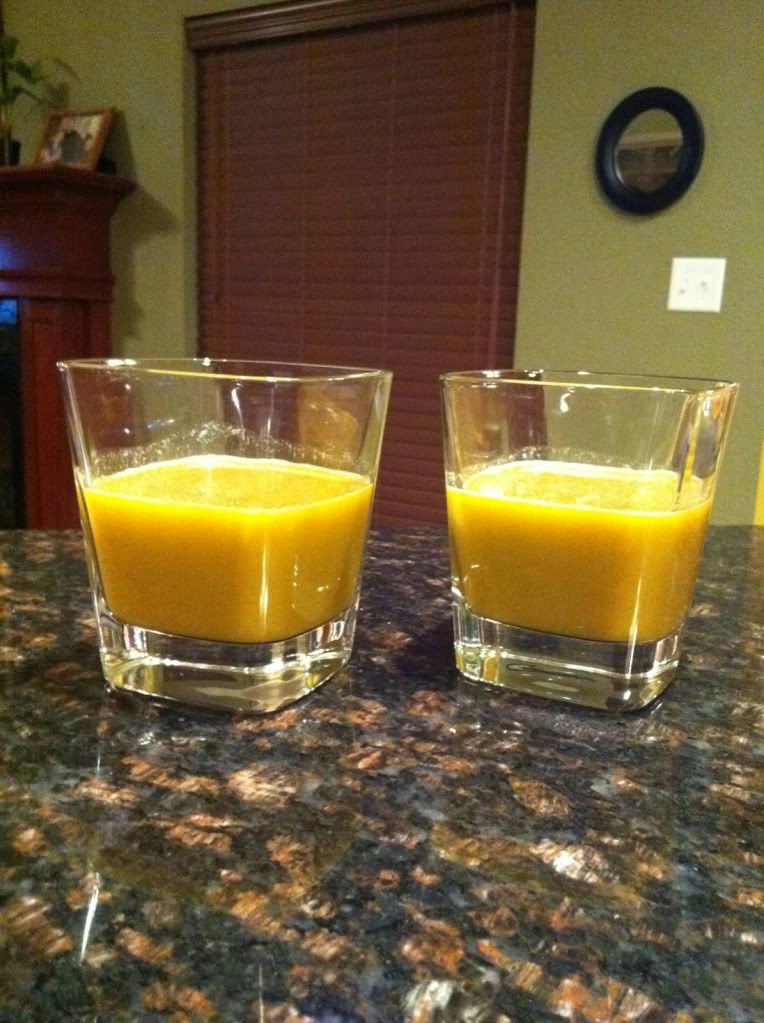
My brother said this when he came to visit and I made him a glass of juice. A Shot of Life. He's right. It is better than you would think.

I only made a small amount tonight and shared with my husband. Down the hatch! Mmm. I make my juices with an Omega Masticator Juicer. That is why it is so thin. Usually, I make more. We usually each get a glass with 6-8 ounces.


Ingredients: handful of spinach, 2 carrots, 1/3 cucumber, 1/3 sweet potato, small apple, handful of grapes, mandarin orange, and a shot of lemon juice.


Here is what the Omega J8005 looks like. 
I love mine. I have not only made juices, frozen banana puree, pasta, minced up veggies and pork for egg rolls, but I can also grind nuts into nut butter, coffee beans, make baby food, and juice greens including wheatgrass.

    Monday, January 24, 2011

    Fade to Black

    Everybody who knows me knows that I am a banjo nut. I wanted to share this video which is really just a song with a picture of the album on it by "Iron Horse." They are a bluegrass band covering Metallica.

    Fade to Bluegrass - The Bluegrass Tribute to Metallica - Fade to Black. I love this album. Hope you enjoy!

    Thursday, January 20, 2011

    Probably not the Healthiest

    But mmm mmm good. I threw some cooked zesties french fries in a cast iron skillet. Topped with cheese, bacon, and green cheese. Broiled in oven till melted. Walah! This is similar to what you would get at Chili's. This sure was good today with our lunch.

    Sunday, January 16, 2011

    Canned Fresh Mushrooms

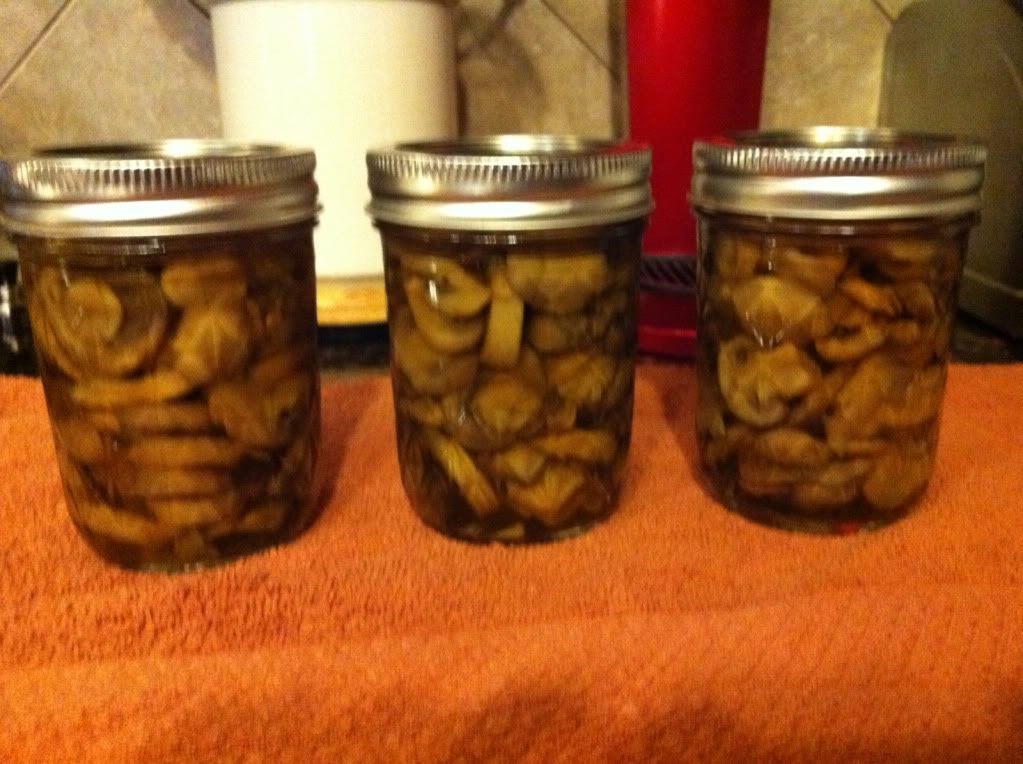
    2 bags of sliced mushrooms = 3 1/2 pint jars

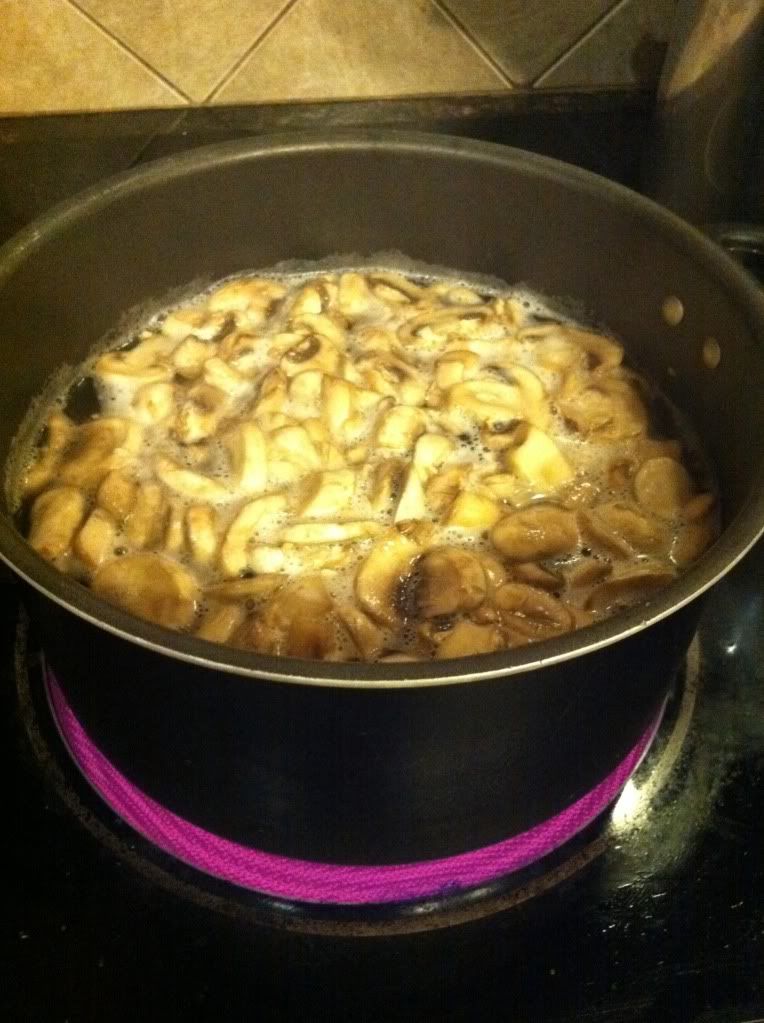
    I decided to pressure can some fresh mushrooms. I started with 2 bags of fresh sliced mushrooms. I put them in water to soak a few minutes and wash them. Even though the bags say they are prewashed, a lot comes off in the water. Drain the water.

    Add them to a pot of plenty of water and cook them. After they come to a boil for 5 minutes or less, take off of the heat. You will drain them again because this water will be brown colored.

    Meanwhile, get your pressure canner and jars ready. Also, I heated a 4 cup measuring cup with water in the microwave to bubbling. You will fill each jar with 1 inch headroom. Fill each jar with strained mushrooms. I put 1/8 tsp of canning salt in each jar. Fill the jar up with the clean hot water. Seal up and put them in readied canner.

    Process under pressure for 45 minutes.

    At least you know that your jarred mushrooms will never taste metallic like the canned mushrooms from the store. I think some good variations could be adding garlic and herbs.


    Drunken Deer Chili


    Makes about 6 or 7 pints or 3 quarts with a little left over.

    • 5 lbs. deer meet (I like stew meat chunks instead of ground)
    • 2 cups chopped onions
    • 2 or 3 cloves garlic
    • 6 cups canned tomatoes and juice (I used 2 gallon sized freezer bags of fresh tomatoes)
    • ½ cup chili powder (I added some Emeril’s Rustic Rub mixed in with this)
    • 1 ½ tbsp. salt
    • 1 large roasted red pepper
    • 1 tsp. cumin seed
    • 2 shots tequila

    I soak my deer meat in milk for a little bit (hour or more) before I use it to get the gamey taste milder. I drained off the milk and seasoned it with just some salt and pepper and meat tenderizer. Brown it in a big stock pot. You need to put a good bit of some oil so it doesn’t stick. I use olive oil.

    After it has browned, the deer’s natural juices come out. I add a bit more water and put a lid on it cracked so it can cook that meat and tenderize it. The stew meat pieces aren’t as tender so they need some cooking.

    I scoop out the deer meat and chop it on a cutting board so it resembles something closer to ground but more texture. I return it to the pan and add the chopped onions, chopped garlic, and chopped roasted red pepper. Let that cook down until the vegetables are starting to get done. I then added the tomatoes and seasoning along with tequila. 2 for the chili and 1 for you. :)
    I made sure and kept adding a little bit more water because I wanted it to cook down thicker but didn’t want to lose my chili. Let all that simmer down until your meat is good and tender. If you want it to reduce a good bit just boil it with the lid off. If that isn’t working fast enough for you and you want it to thicken, you can add a little bit of cornstarch mixed with water. I used about a tablespoon of cornstarch mixed with 2 tablespoons of water. My total cook time on the chili was over an hour because my meat needed to get tender. In the end, the tomatoes cook down and everything thickens. The roasted red peppers still keep shape so there is some pretty color floating in there.


    Canning Instructions:

    If you want to can this, it will need to be pressure canned since it contains meat. Ladle into 6 or 7 pint jars or 3 quart jars. Leave 1 inch headroom. Bring pressure cooker up to pressure and cook pint jars for 75 minutes and quart jars for 90 minutes. Pressure canning this chili will make it even tastier because it is being cooked with 10 pounds of boiling pressure. The meat will be like it set in a crock pot all day.

    Will keep for 1 year.