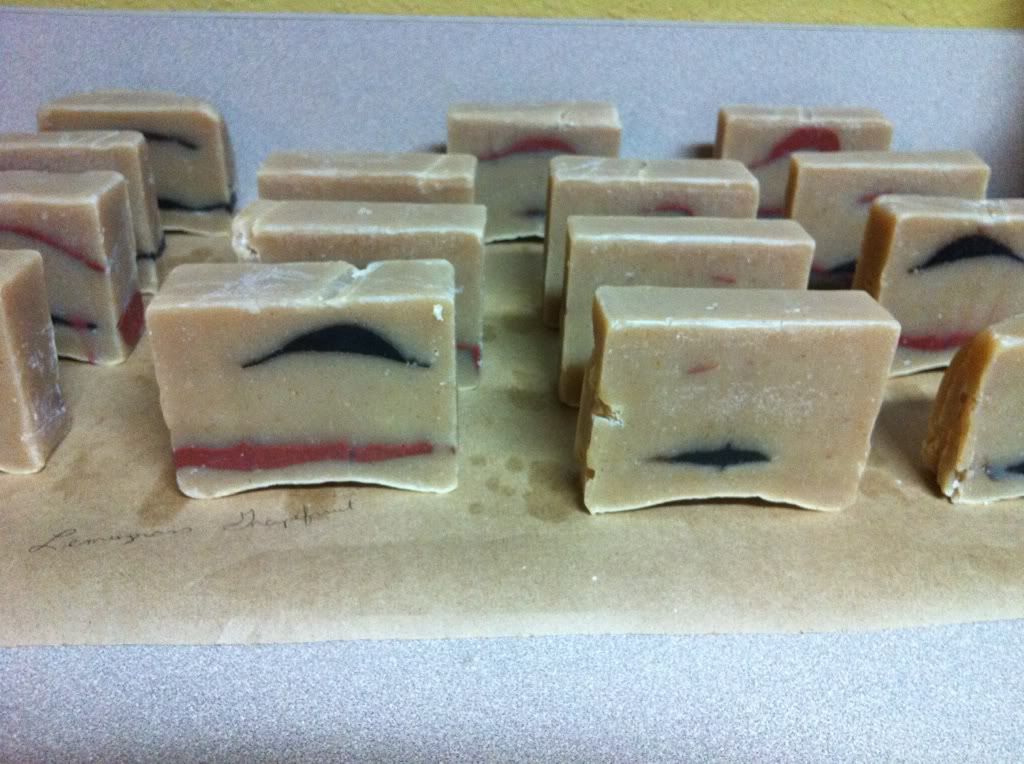
This is the funnest part of making soap. The curing. It is a pretty slow process, but you get to see your soap turn into a nice looking bar. In the beginning, sometimes it looks pretty scary. Colors change. Fragrances change, sometimes not for the best. You never know how it will really turn out until the very end.
The soap you see above was cold process and then oven processed. It will be ready in 4 days. This soap was made many days ago.
No one can resist walking by curing soap and touching it.
Wednesday, October 26, 2011
Tuesday, October 11, 2011
Buffalo Wing Jerky - Dehydrator
I really enjoy some homemade jerky. Once you get used to eating it, you never want to buy any from Wal-Mart again. Our friend (Jonathan) told my husband a few years ago that he started making some Buffalo Wing Jerky. Mmm You don't need any exact measurements to make jerky. It tastes awesome if you just follow basic instructions and add what you want.
First, you need to get a roast. Really any roast will do. You need to cut off any major fat so the leaner the better. The last roast we used was a Rump Roast. It is usually around $10.Cut it across the grain if you can. The pieces that are cut across the grain will fall apart more easily. The ones with the grain will be tougher to chew. To each their own.
I cut my meat with a cheaper electric meat slicer that I picked up from Wal-Mart one holiday. You can get it at Amazon as well. It folds up and is pretty easy to use. It is a booger to clean because it does come apart into about 4 pieces. You will find little pieces of meat in cracks, but it does come clean. If you keep your box, it stores nice in a closet.
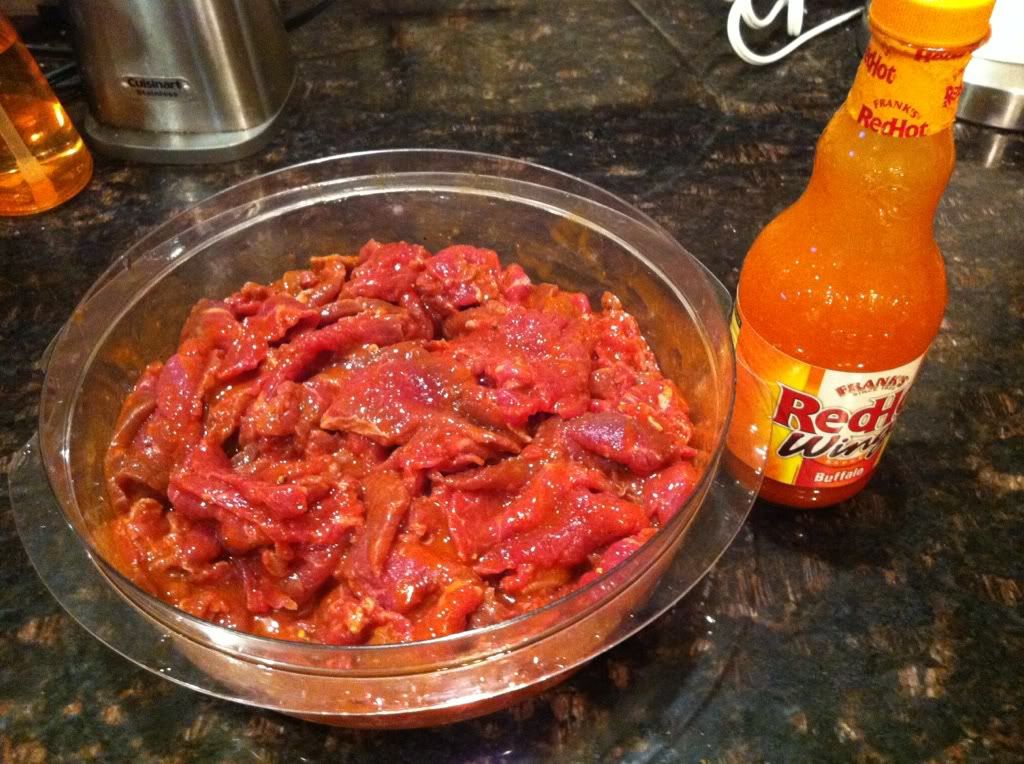
Slice up your meat. I like to get a cookie sheet out and just lay the slices on it. After I get done, I take some sea salt and sprinkle the mess out of it. You want to be able to see it. Now this is optional, I like to add a few splashes of soy sauce and lemon juice. Soy sauce is salty and lemon juice seems to help break down the meat. I also like some cracked black pepper on mine. I put it all in a big bowl and dump half of a bottle of Frank's Wing Sauce on it. You can get this about anywhere now and Amazon.
Very Important - Wear Gloves. I use some spiffy black gloves like they use in the hair salons. Sally's Beauty Supply. Coat the meat until it is red. I mix it around. There is so much vinegar in this sauce that it does seem to break down the meat's toughness. Let it sit in the fridge overnight.
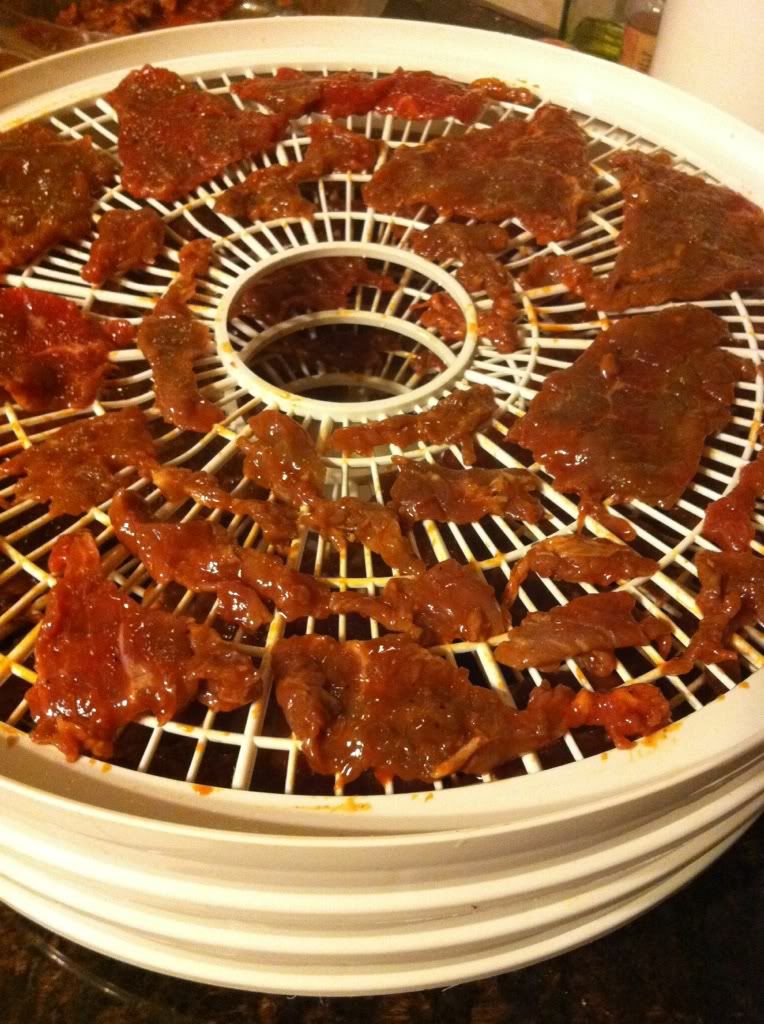
Next morning, put the meat in the dehydrator. Don't let the pieces touch or you won't get as good of air circulation. I am using an older Nesco Food Dehydrator. I realized that I may need to upgrade mine soon because I can't do a whole batch of jerky at a time. It has 4 trays counting the bottom one.
I encourage you not to throw away your small little pieces because they are yummy. If you have little tidbits, just put them in there. They will help you gauge when the meat is getting done without wasting a big piece.
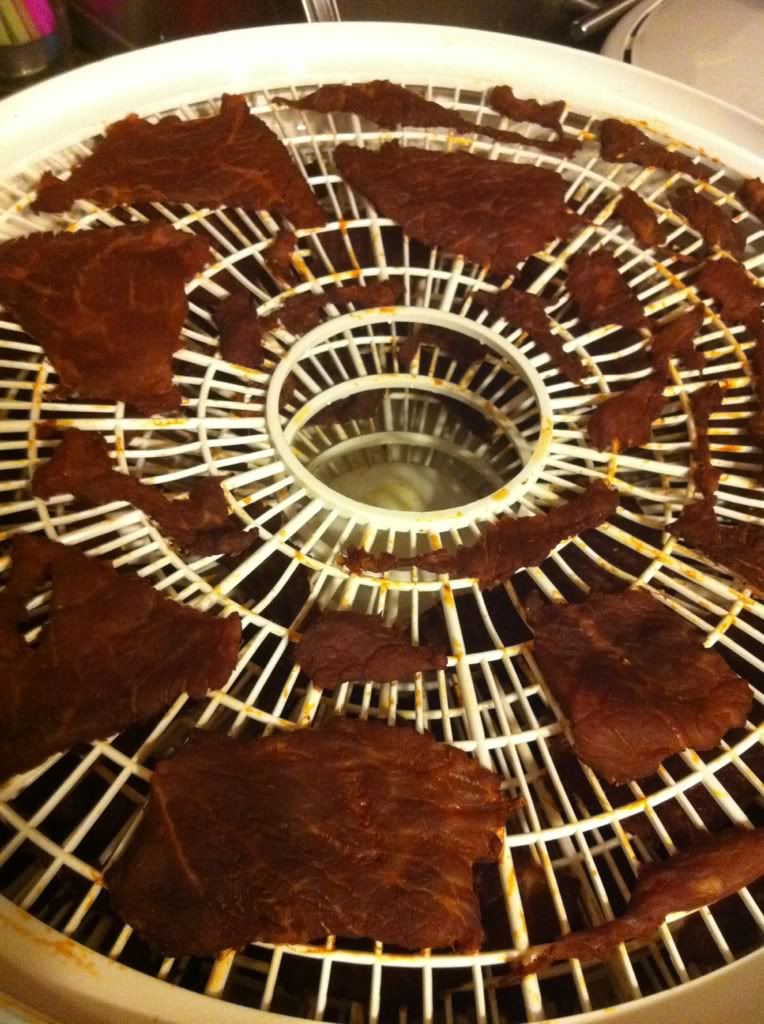
After it has started cooking for a few hours, your house will start smelling nice. After about 4 1/2 hours, you will notice the meat changing drastically. Your small little pieces will be crispy.
This picture was taken after a few hours. You can see how it started drying nicely.
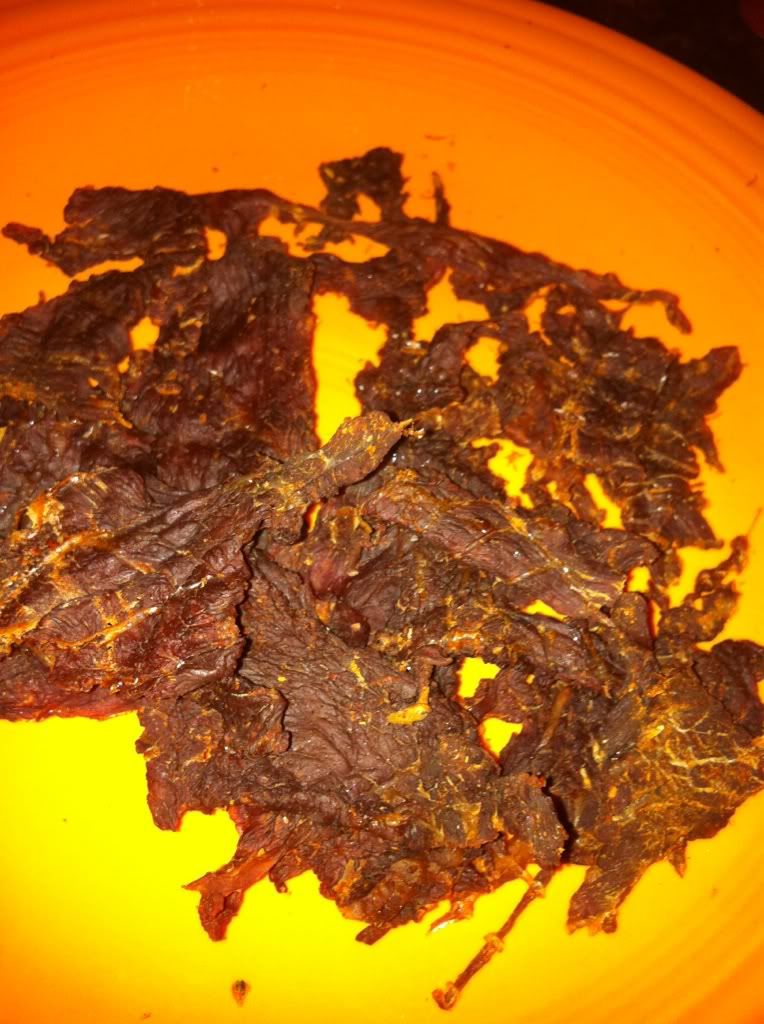
Your jerky will take anywhere from 6-10 hours to get done depending on how thin you sliced your meat. I check on my jerky every hour after I start taking pieces off. The only real problem we have with making jerky is that I can eat it all as it comes ready. This jerky can be stored on the counter because it is dried!!!
Optional ideas: Before I started cooking with the Frank's sauce, I did it other ways. I never made a bad batch of jerky so just experiment. I sometimes add about 1/4 cup of Dr. Pepper or Coke on the meat. The fizzy helps the meat get tender. If you like your jerky a bit sweet, you can add some brown sugar on the meat when marinating it. Get wild crazy and make some Jerky!
This is a great idea for Holiday Gift Giving.
Sunday, October 02, 2011
Why Store Bought is not always the Best
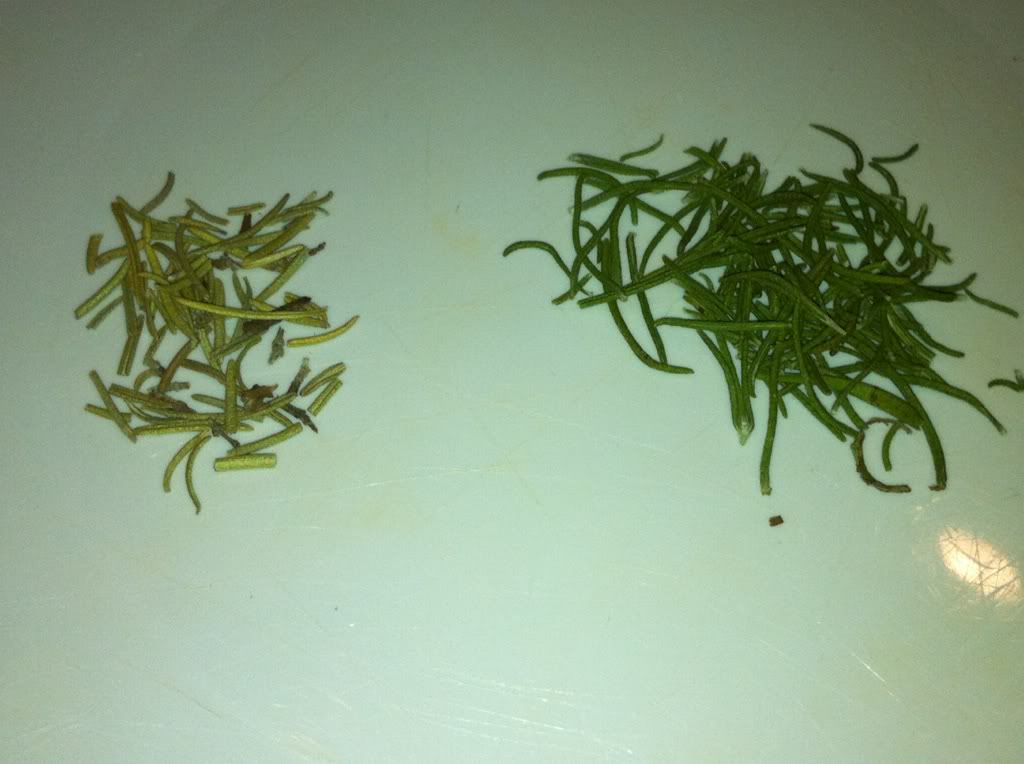
Picture is not enhanced. iPhone pic.
You are looking at a plate that has some dried Rosemary leaves on both sides. The one on the left is Store Bought. That is McCormick's Rosemary Leaves. I admit that it is a few years old, but it was air tight and has not changed that much since I bought it. To the touch, it was dry and brittle and crumbles when you pick it up. I could probably crush it to a powdered state if I gave it a good try.
The pile on the right is my home grown Rosemary. I cut about 4-5 long sprigs of it, tied it in a bunch and hung it upside down inside a well-ventilated (poke holes in it) paper sack. I just clothes-pinned it to a hanger. I hung it up for a few weeks. It was that easy. When your leaves are dried and ready, they will just pop off the stem really easy.
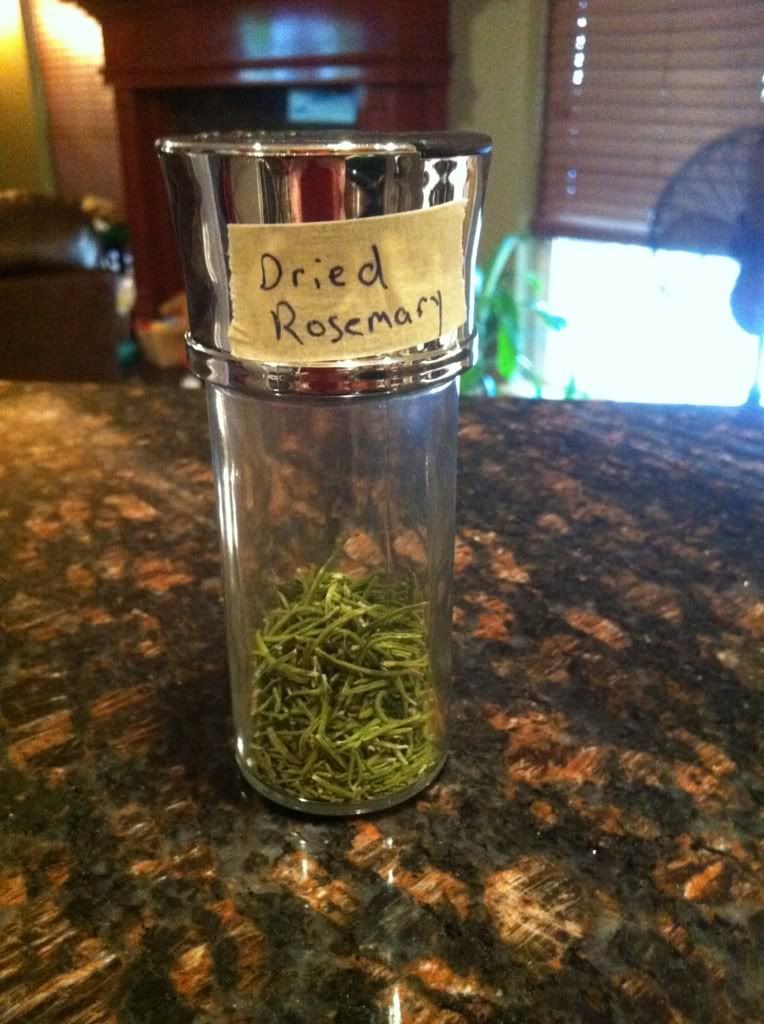
I cannot get over how the color of my leaves are drastically different. I will definitely dry some more soon. This is probably all I will use in a year, anyways. I tasted it, and it tastes more flavorful than the store bought. I got this glass herb jar at Bed Bath and Beyond.
Subscribe to:
Posts (Atom)
