Showing posts with label gardening/organic. Show all posts

Sunday, July 15, 2012

Steamed is what's for dinner

I bought the best thing in the world for $20 at Walmart, and this may be the first time I have bought anything cheap that actually works as intended.

Rival Double Stack Vegetable Steamer - it's cheap and a little thin.  It does not have all of the bells and whistles that the more expensive models have.  It works!!!! Most important for me.
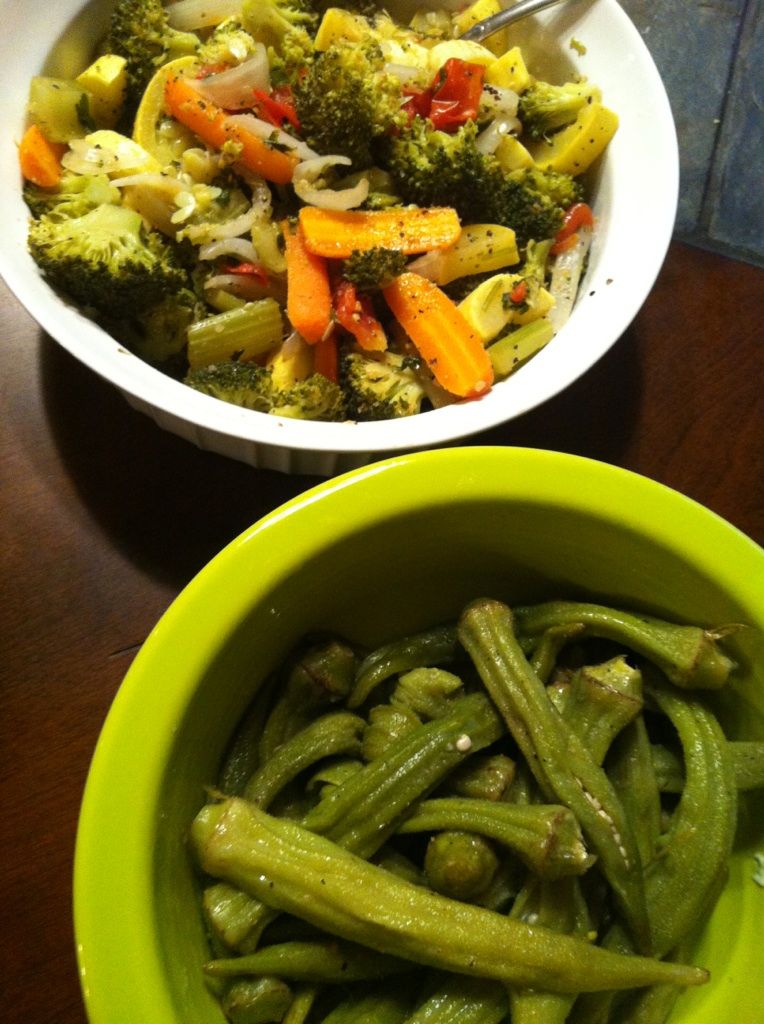
This is why it is worth it to me.  This was my dinner.  I put all of this in the steamer.  About 25 minutes and Bam! Done!  I added a spoonful of butter and tossed the okra.  A little salt and everything was so yummy.  You just throw some vegetables together and some Ms. Dash.  Put it in there, and it comes out amazing.

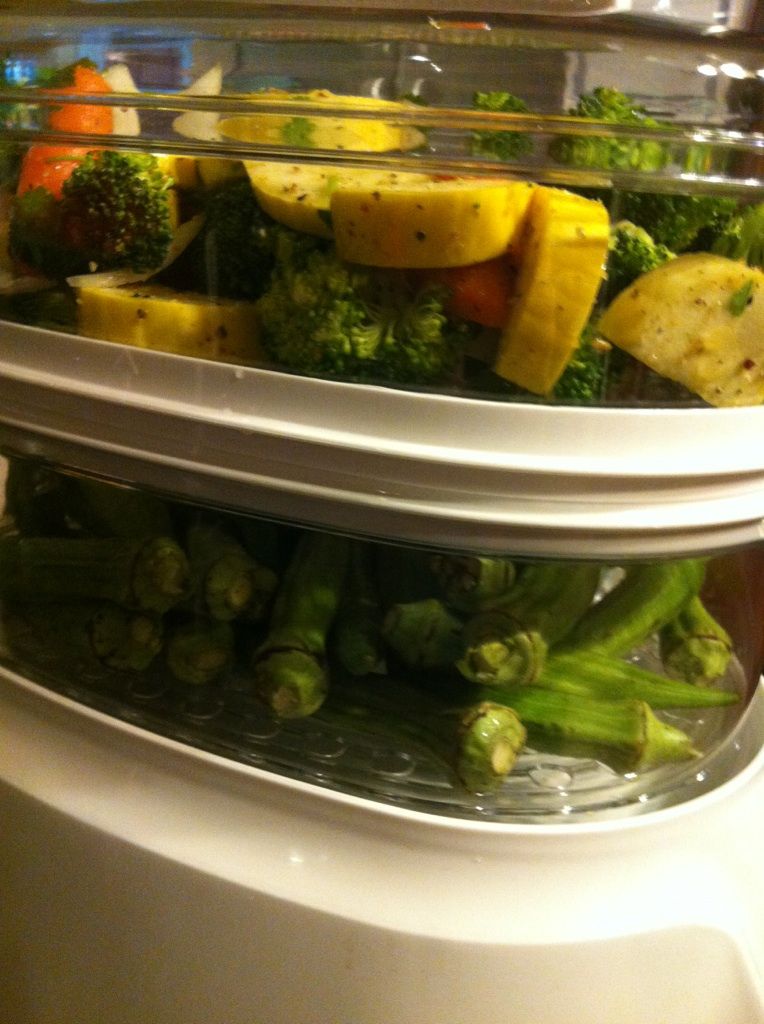
Here is what it looked like stacked before I turned it on.  This picture is before I figured out that my stacking seals were stuck together.  It still cooked wonderful.  Fool Proof!

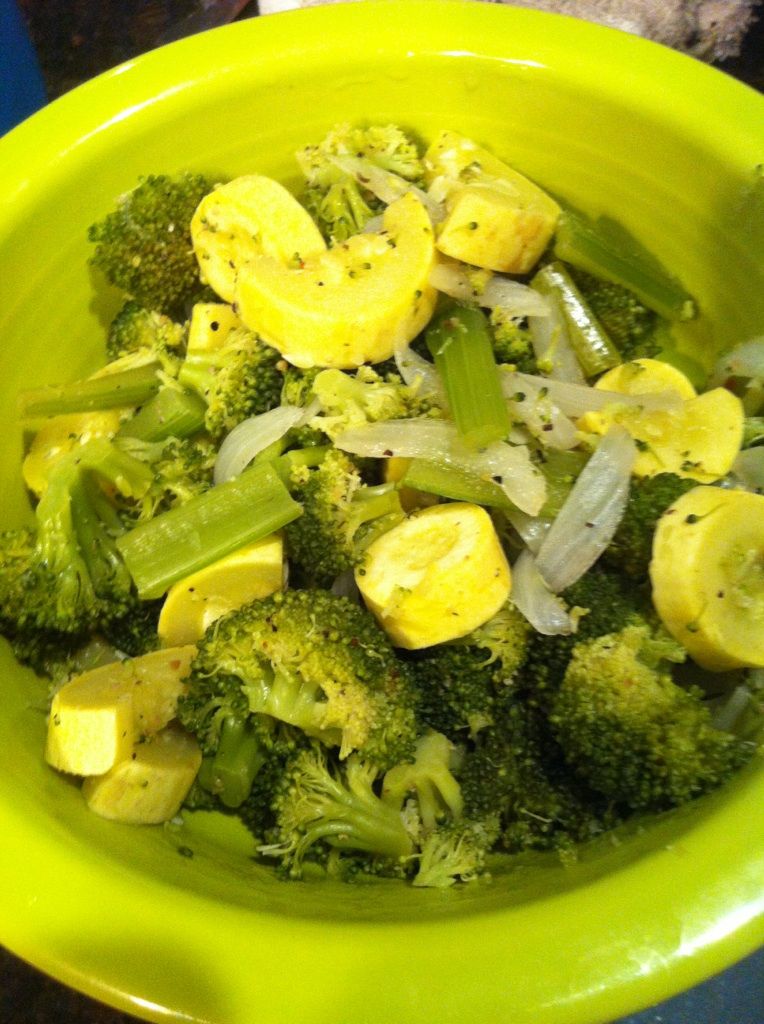
More food pictures for you.  This was the first time I tried it.  Broccoli, Squash, Celery, Onion, Ms. Dash.  I ate every bit of it.


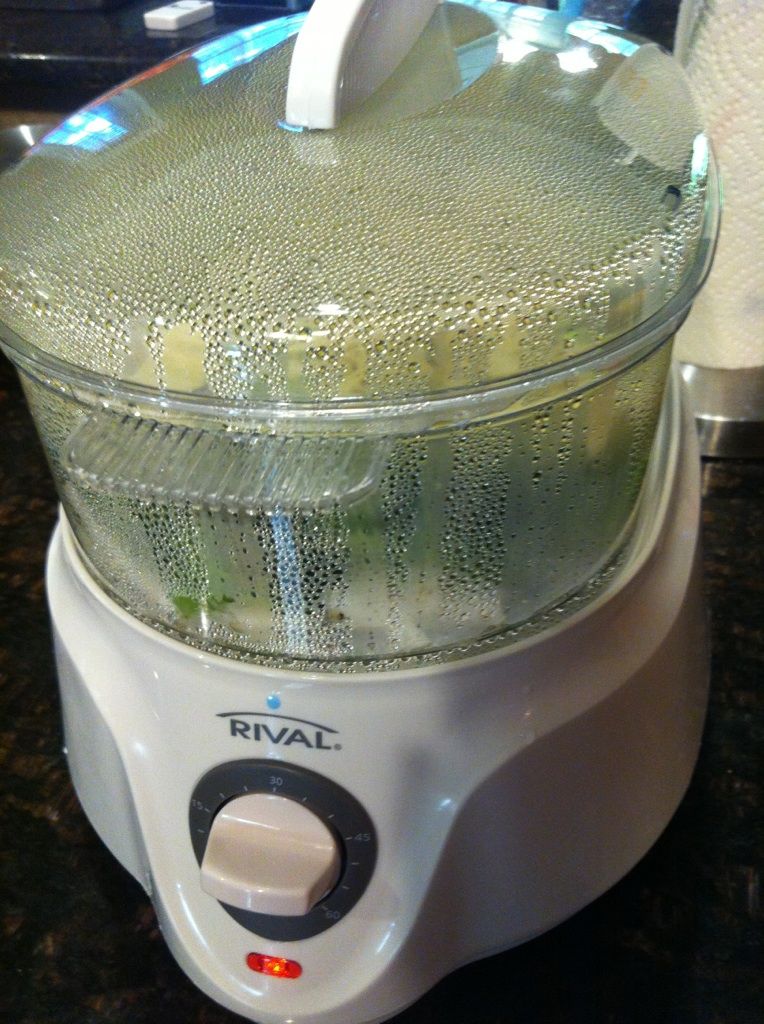
This is what it looked like while it was cooking.  Like I say, I didn't have the stacking seal on it, and it still cooked up great. This is using only one layer of cooking. 

Look at the vibrant color of the finished food.  It is not cooked to death and has plenty of flavor.  You can toss with some olive oil and salt or nothing at all.

This may be the best $20 I have spent in a long time.  This is especially the best time of year to find something like this with all of the fresh vegetables around.  I do plan on cooking some meats in it, too.  I am also wondering if tamales are an option.


Monday, January 02, 2012

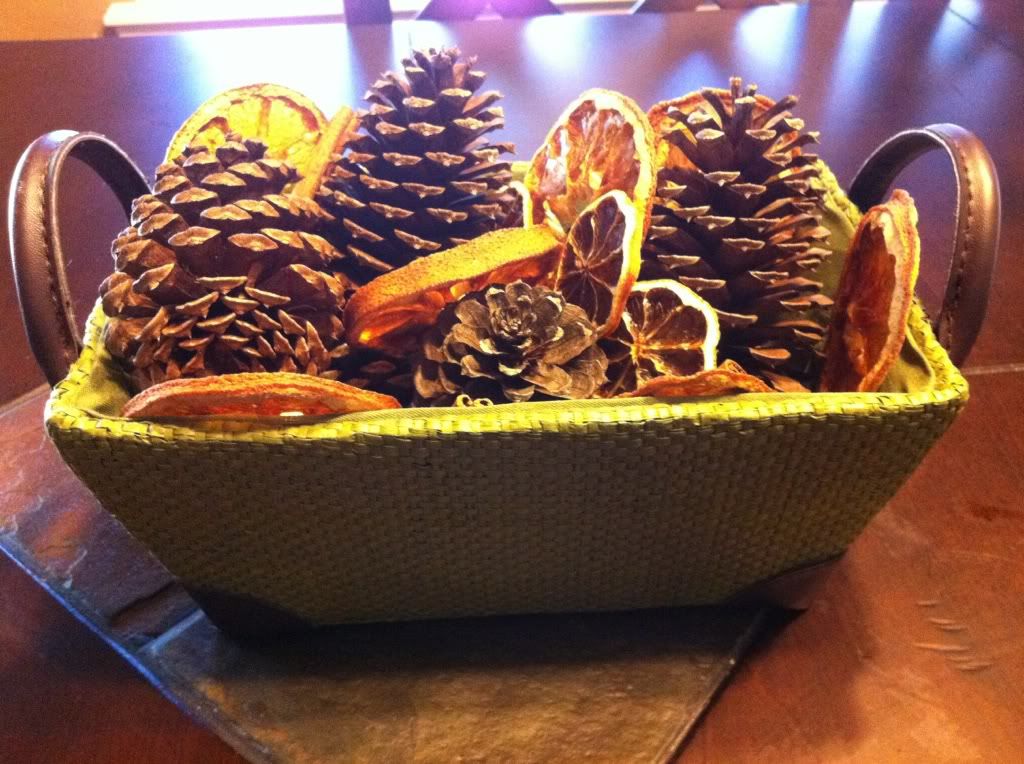
Revisited Scented Pine Cones, Orange Slices


I made a blog post back at the beginning of November telling how I was making the scented pine cones, orange slices, and lemon slices. They smelled really good and were supposed to sit for several weeks. I got all caught up in the holidays at Thanksgiving and forgot about them until now.

I pulled them out today and made a small centerpiece for the table and another basket for the fireplace. They had some cinnamon sticks in them as well. They smell wonderful and the dehydrated slices turned out nice.

Wednesday, December 28, 2011

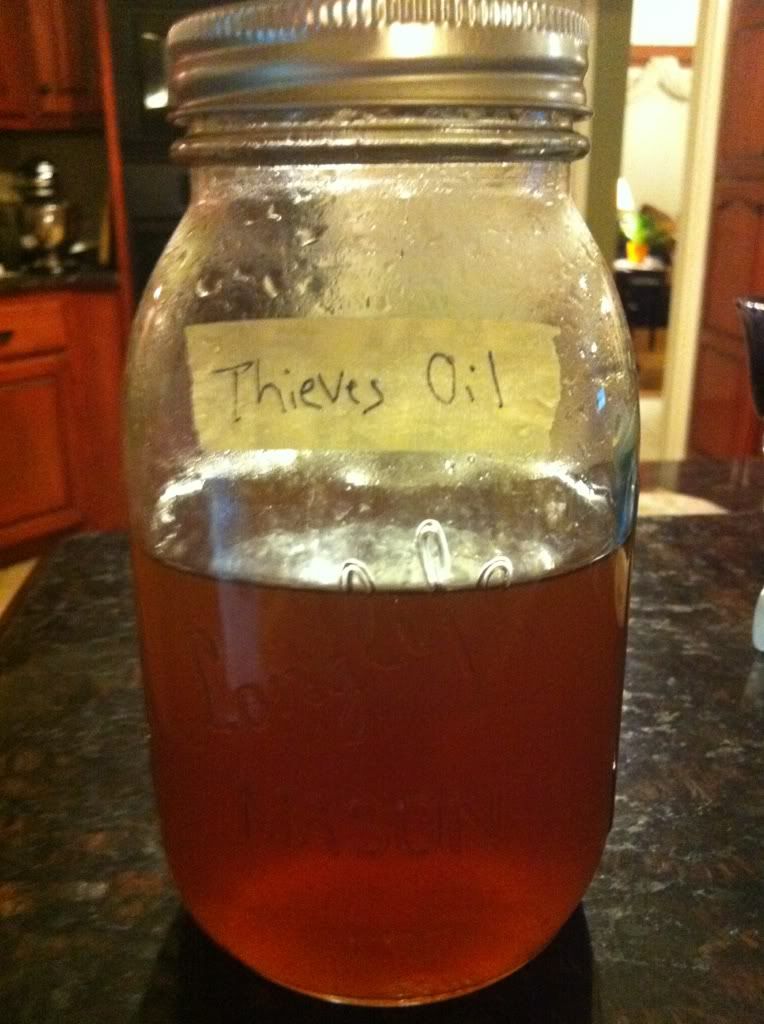
Thieves Oil to the rescue


I had never heard of Thieves Oil until this past year. I started dabbling in essential oils and making cleaners. I heard this word come up several times. So, the best resource I found for easy DIY instructions was Ma & Pa Parker's Sustainability Blog. There is some history to Thieves Oil that you should look up. It's interesting. It helped the robbers of Medieval times fight off the plague so they could rob the dead without getting ill and dying.

 You can find the recipe there on their blog. I had to make some variations because of what I had.

Thieves Oil (My substitutions to the side.)

1 lemon peel (20 drops Lemon EO)
4 Sprigs of Rosemary (I grew mine this year)
4 Cinnamon Sticks (18 drops Cinnamon EO)
1/4 cup Whole Cloves
7 drops Eucalyptus EO

Bring 1 Quart of water and all of the hard items to a boil. Cover and simmer for 30 minutes. Remove from heat and let cool. Stir Often. Strain into Quart Jar and add the Essential Oils. The picture of mine above is after I have used it several times.

What can you do with this? I use it to mop with and fight off nasty flu and germs. I pour a little (1/4 cup) into some hot water to mop with. It smells really good because of the Cinnamon and Cloves. If it is good enough to kill the plague, it should work for everyday flu.

On Ma & Pa's blog, they tell how you can use it for a General Purpose Cleaner, Glass Cleaner (mixed with vinegar), Wood Cleaner (Polish), and Laundry Additive. Make sure to find out how to mix these things before you use it. Some things can be damaging if not known how to properly use.

Sunday, October 02, 2011

Why Store Bought is not always the Best

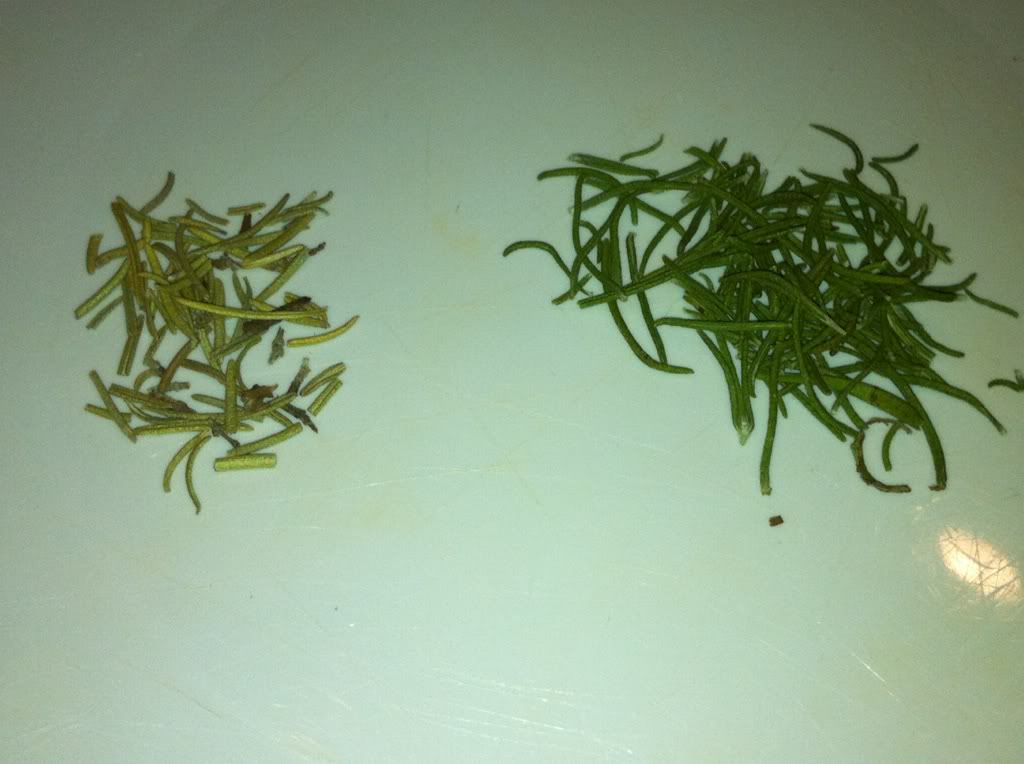
Picture is not enhanced. iPhone pic.

You are looking at a plate that has some dried Rosemary leaves on both sides. The one on the left is Store Bought. That is McCormick's Rosemary Leaves. I admit that it is a few years old, but it was air tight and has not changed that much since I bought it. To the touch, it was dry and brittle and crumbles when you pick it up. I could probably crush it to a powdered state if I gave it a good try.

The pile on the right is my home grown Rosemary. I cut about 4-5 long sprigs of it, tied it in a bunch and hung it upside down inside a well-ventilated (poke holes in it) paper sack. I just clothes-pinned it to a hanger. I hung it up for a few weeks. It was that easy. When your leaves are dried and ready, they will just pop off the stem really easy.


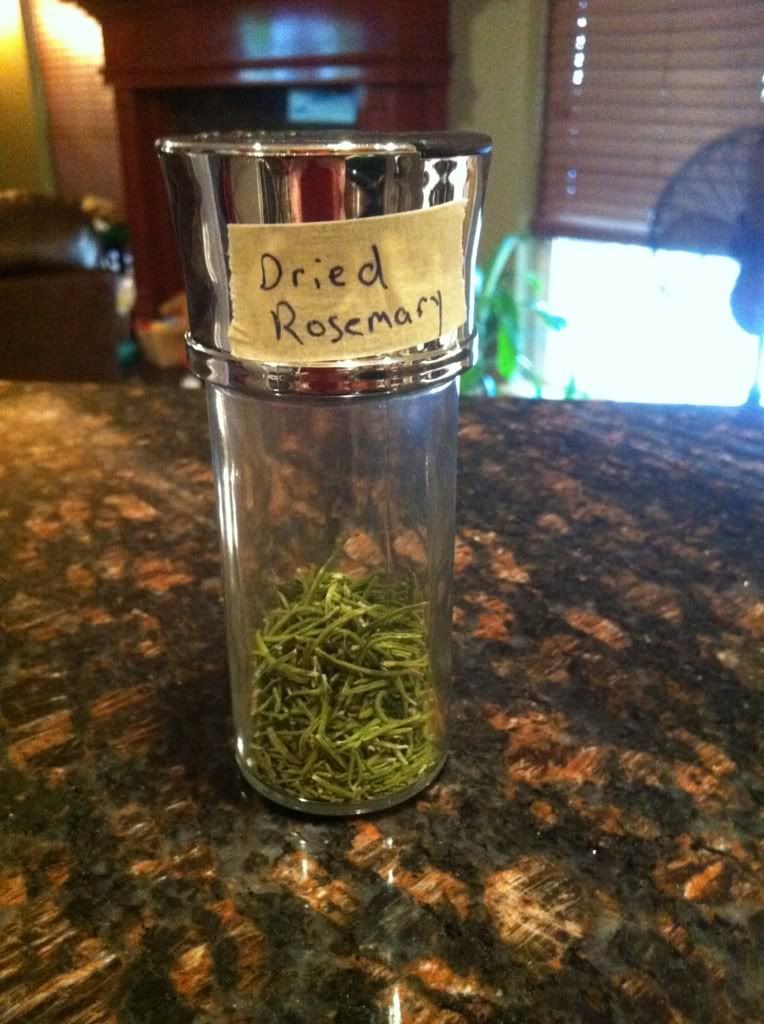
I cannot get over how the color of my leaves are drastically different. I will definitely dry some more soon. This is probably all I will use in a year, anyways. I tasted it, and it tastes more flavorful than the store bought. I got this glass herb jar at Bed Bath and Beyond.

Thursday, September 01, 2011

Butter and Whey

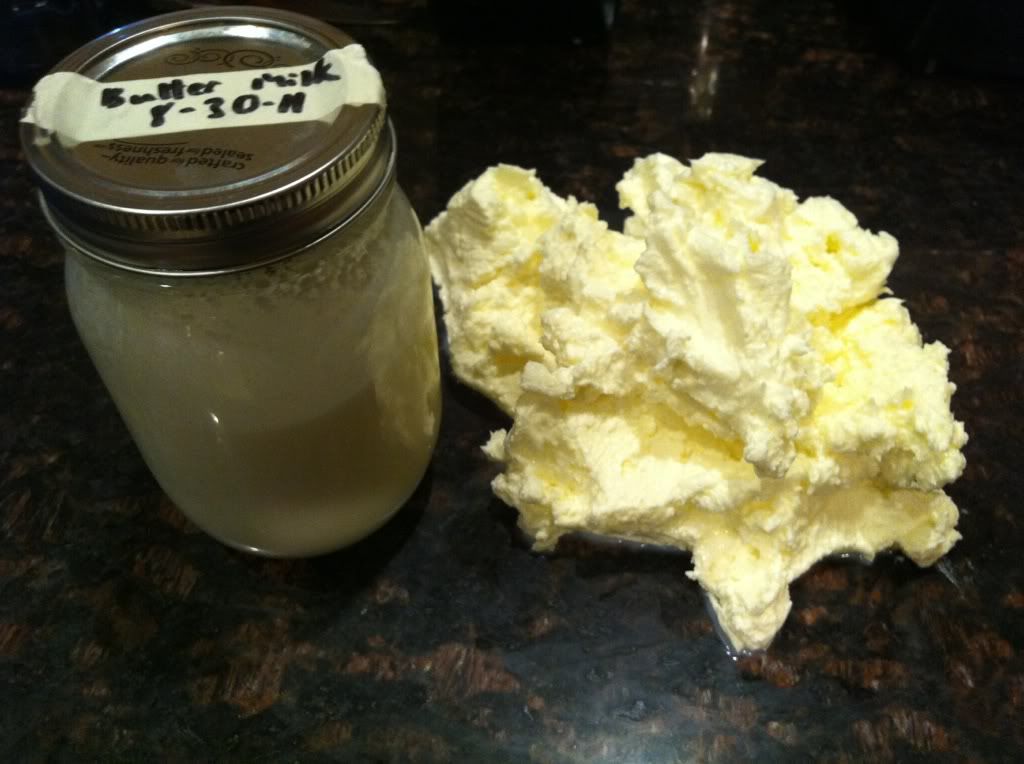
Yesterday, I made butter again. It's pretty easy because I make it in my Blender. I used the large container of whipping cream. I let my butter rest on the counter top for half an hour. The jar beside it is the buttermilk it made. Last time I had some of this buttermilk, I made pancakes with it. Maybe some buttermilk fried chicken is in my future. I have a great recipe from the cookbook "From Elvis' Kitchen to Yours."

Since the butter was washed with cold water, it has some water in it even after draining. It will seep out for a bit.

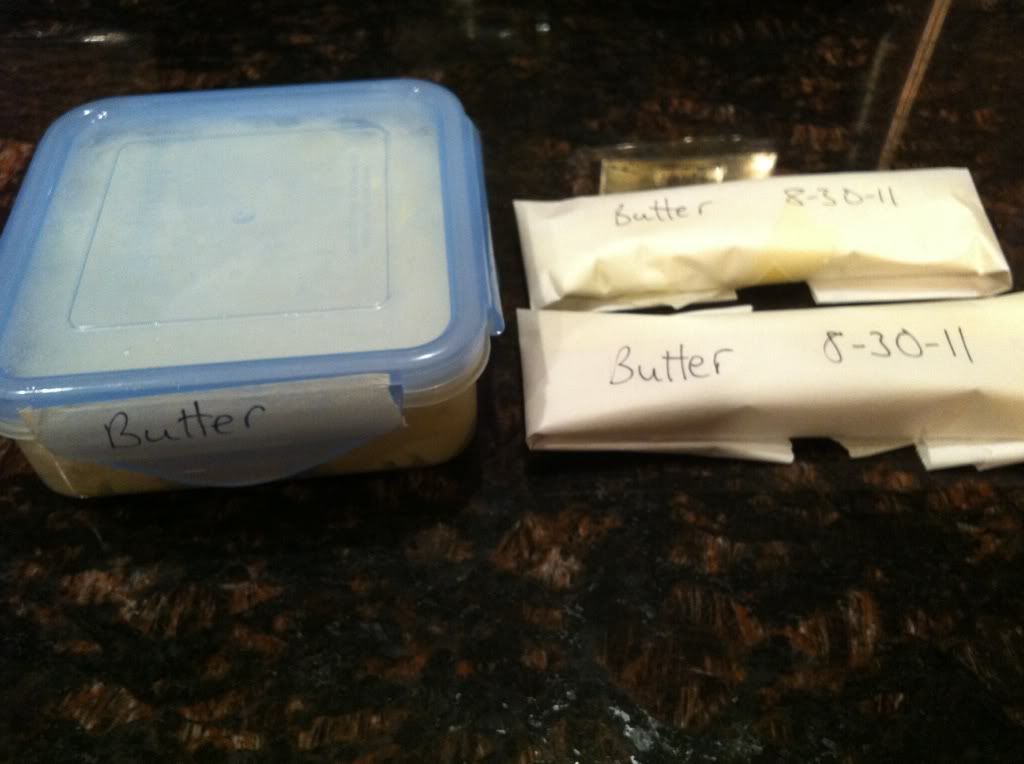
After all of the extra water seeped out of the butter, I finished it. I use two spoons and mix it around while adding salt. I put some in a container for the fridge and made 2 small logs for the freezer. :)

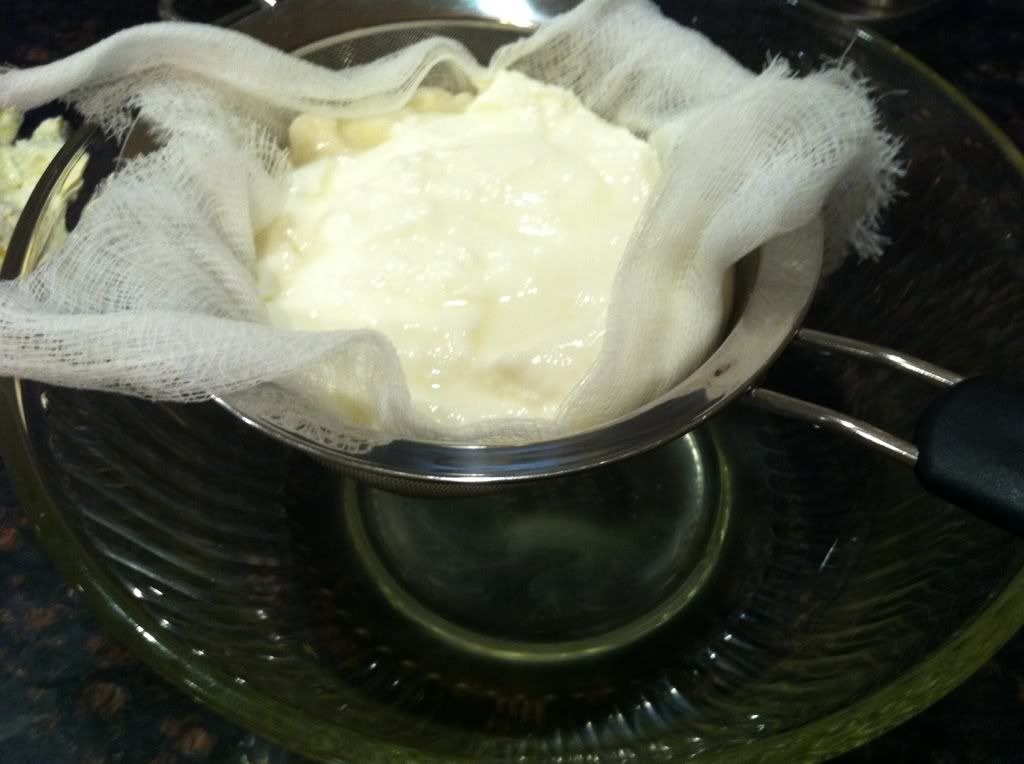
Later, I wanted to make some whey because I read that you can soak brown rice in it. I put yogurt in a cheesecloth lined strainer so that the whey could drip off of the yogurt. I saw this here at The Nourishing Cook.

After a few hours, it slowed down enough to change it to hanging suspended. I put a larger piece of cheesecloth around my ball of yogurt so that I could bring all four corners together and tie it up. Then, I tied it to a wooden spoon that was sideways across a big jug. Do not squeeze the white glob. Just let it drip out slowly.
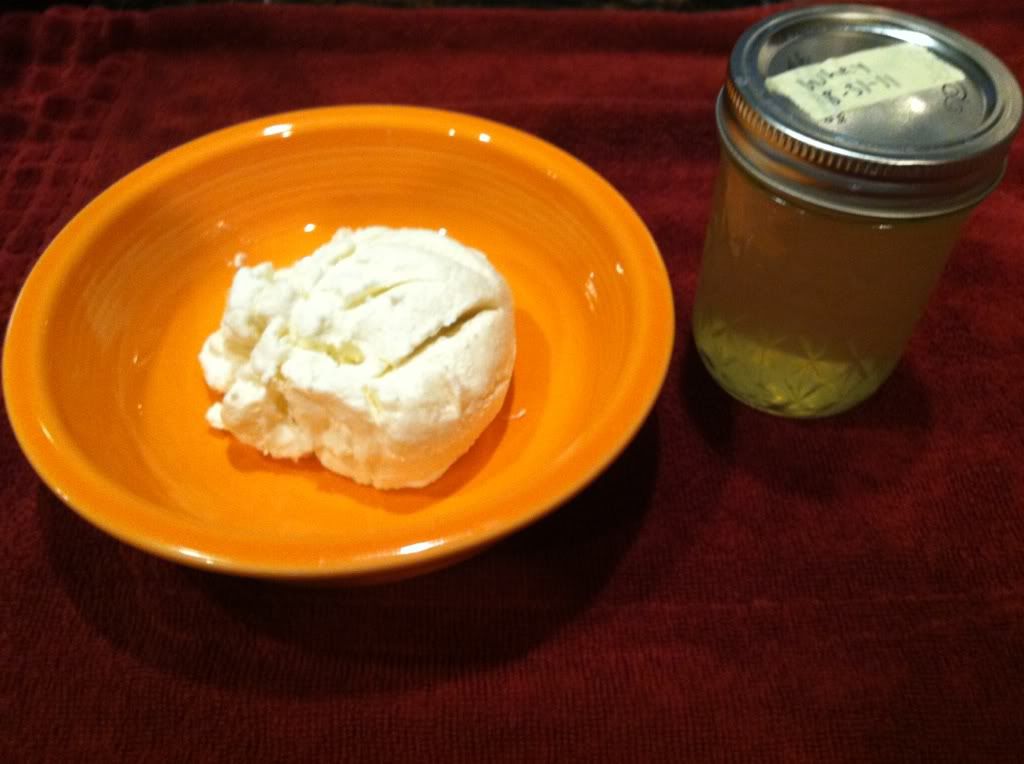
After it set out all night at room temperature and dripping. It was done. It made cream cheese and whey. Pretty cool! I started with half a container of yogurt (16 oz). It made around 6 ounces of cream cheese and a little jelly jar of whey (plus 4 TBSP you can't see). I used StoneyField Organic Plain Yogurt.

The cream cheese will last for one month refrigerated, and the liquid whey will last for 6 months refrigerated. I have already used some of my whey while making Kimchi (another new adventure). I found a good quick use for my cream cheese. I was dying to try it out.

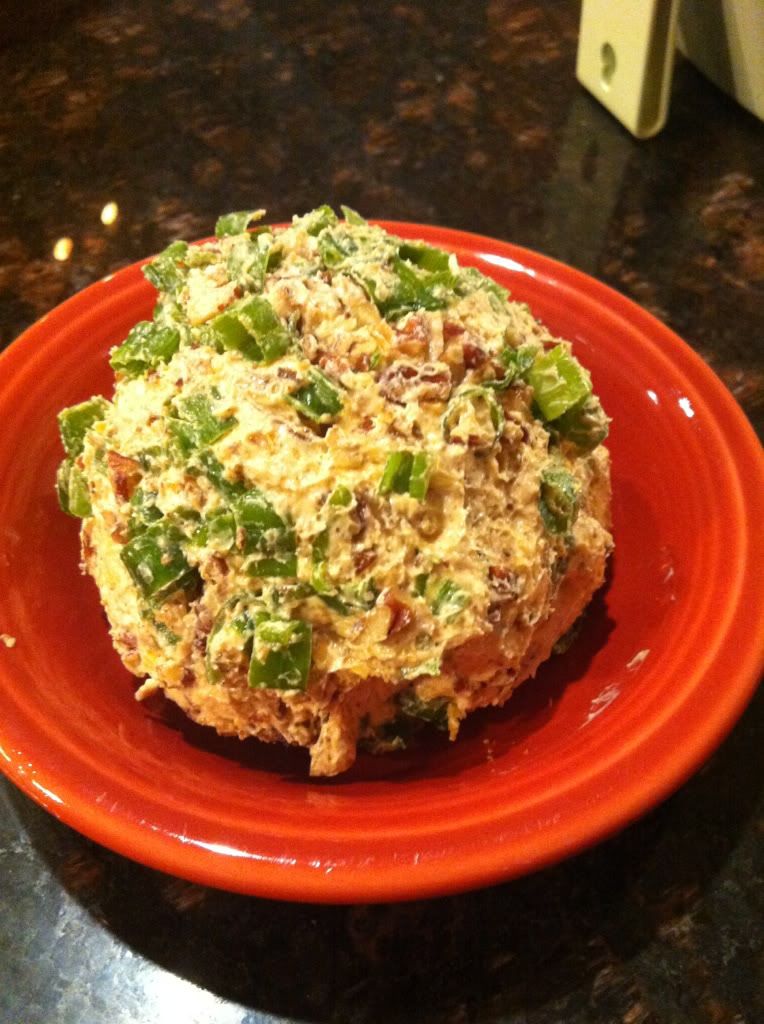
Not too pretty, but I made a quick cheese ball. I had a seasoning packet of Hombres Garlic Onion Chipotle Dip Mix. I didn't make much cream cheese with my half-batch so I just used half of the packet. I mixed in 2 TBSP of my homemade butter and 1/2 cup of shredded cheese. I rolled it in a ball. I should have just stuck it in the fridge for a bit so it would firm up before I rolled it in the green onions and chopped roasted pecans. I was in a hurry and just forgot. Put it in the fridge and chill for a few hours and then it's ready to eat. It was super tasty and way spicier than I suspected. Ugly but good.

Tuesday, July 19, 2011

Garden is still going

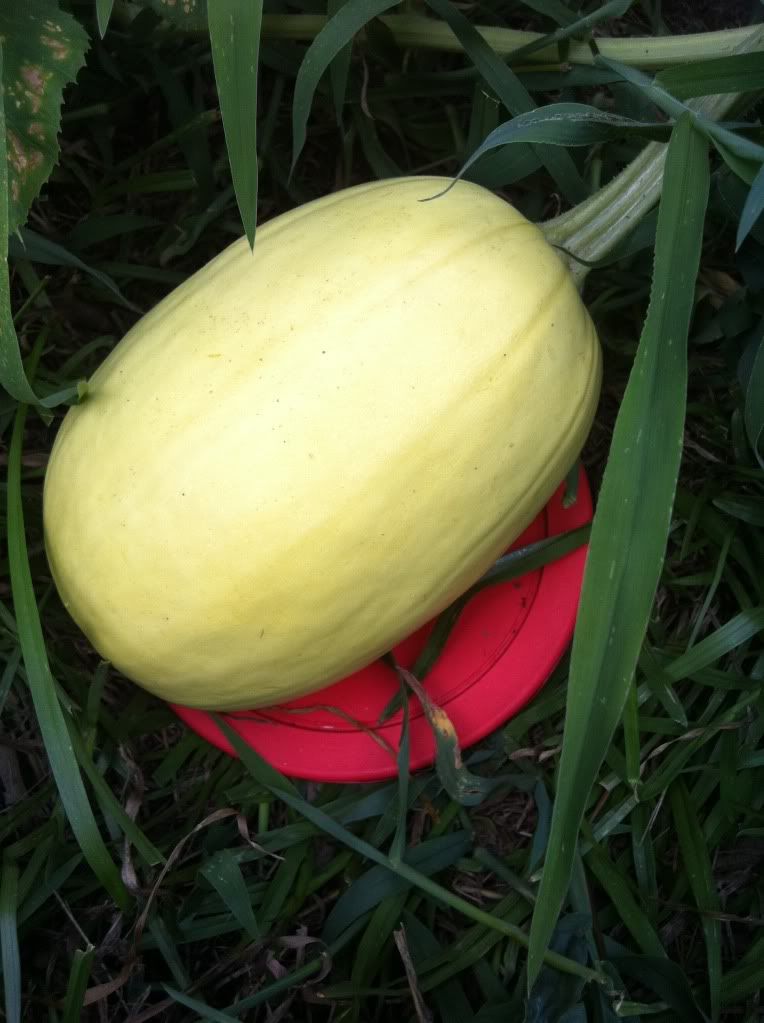
Here is my one spaghetti squash. I planted it in a bag of soil at the beginning of season. This vine probably went 6-7 feet and a squash appeared towards the end. It has been growing for a bit. I am waiting for it to turn a good yellow and toughen up a bit.


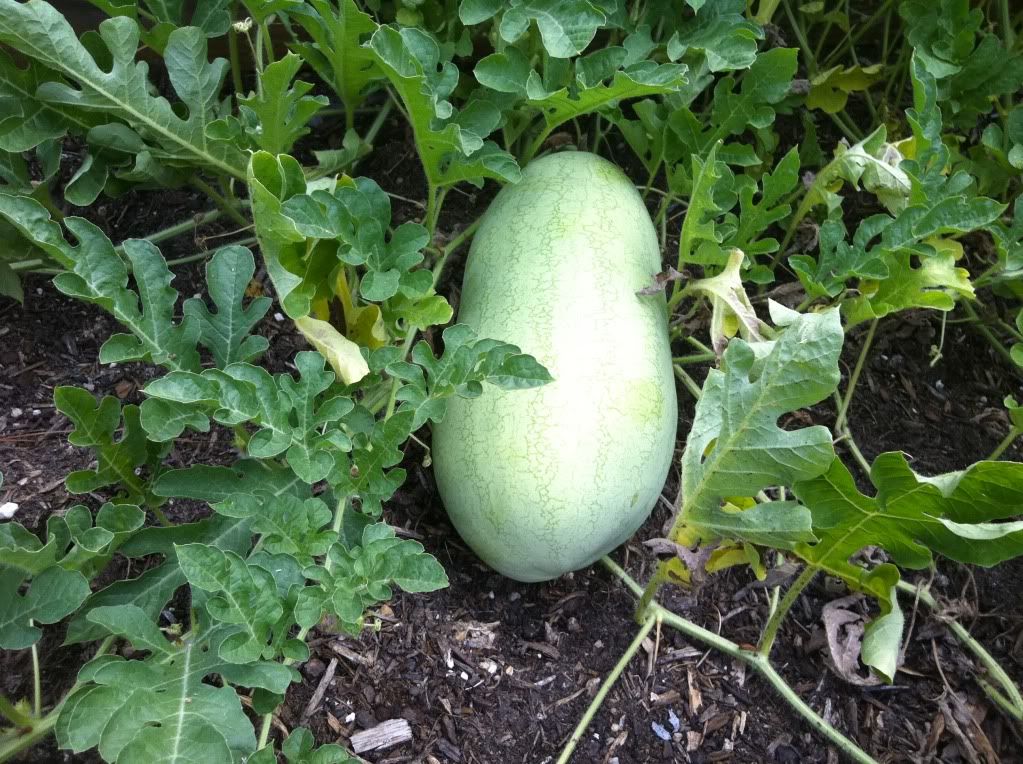
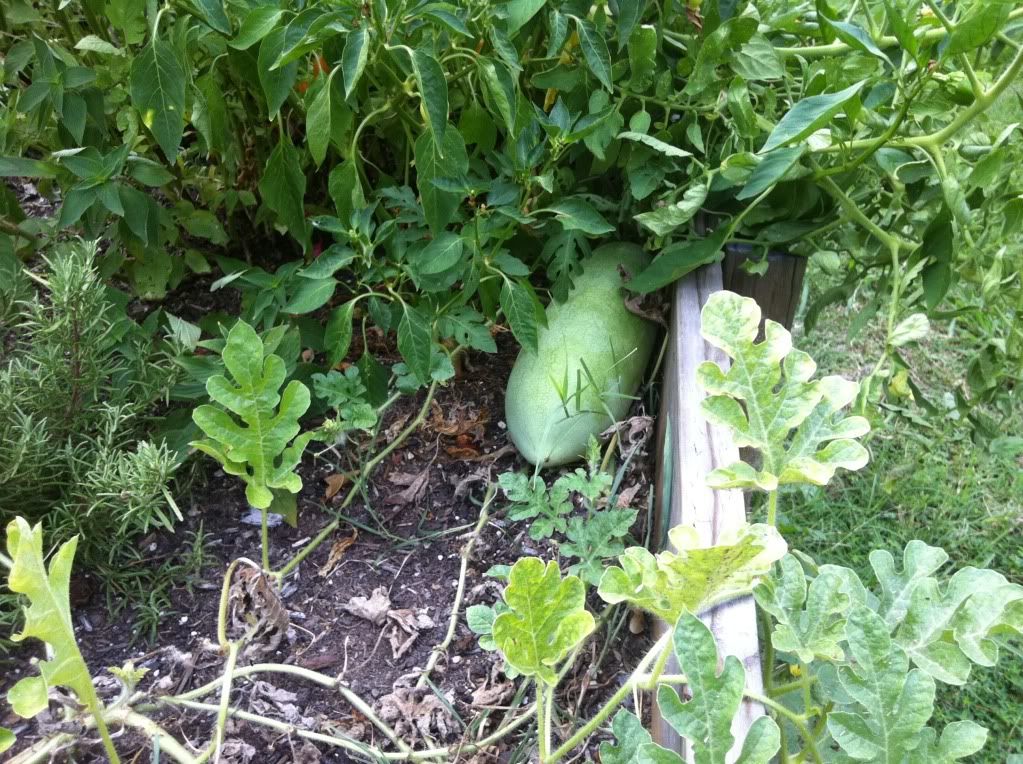
I had surprise watermelons this year. The seeds must have been in the compost I made from last year. Surprise. Watermelons are now taking over where my potatoes were. I had them growing up a tomato plant. They get kind of wild.


I just moved the melon out of the tomato plant and laid it on the ground. I have three watermelons total. Pretty good since I didn't plant it.

Tuesday, June 28, 2011

Kids, Toes, and Tomatoes


D sure loves his Juicy Juices. Grace took this picture while babysitting him.

Warning: Graphic Picture


Poor Alex ended up in the ER on Friday evening after D pushed the piano bench over on his bare toe. Who would have thought that a standard bench without storage in it would be so heavy to split his toe open? We could not get it to quit bleeding so we had to go the ER. They cauterized his toenail to let the blood out. Then, they had to give him 2 stitches, and one had to go through his nail. Yikes!!! I made him hold my hand, probably for my sake.


Alex is a good sport. Even though he felt all cruddy, he had it in him to blow up that glove and stick it up his nose (sort of).


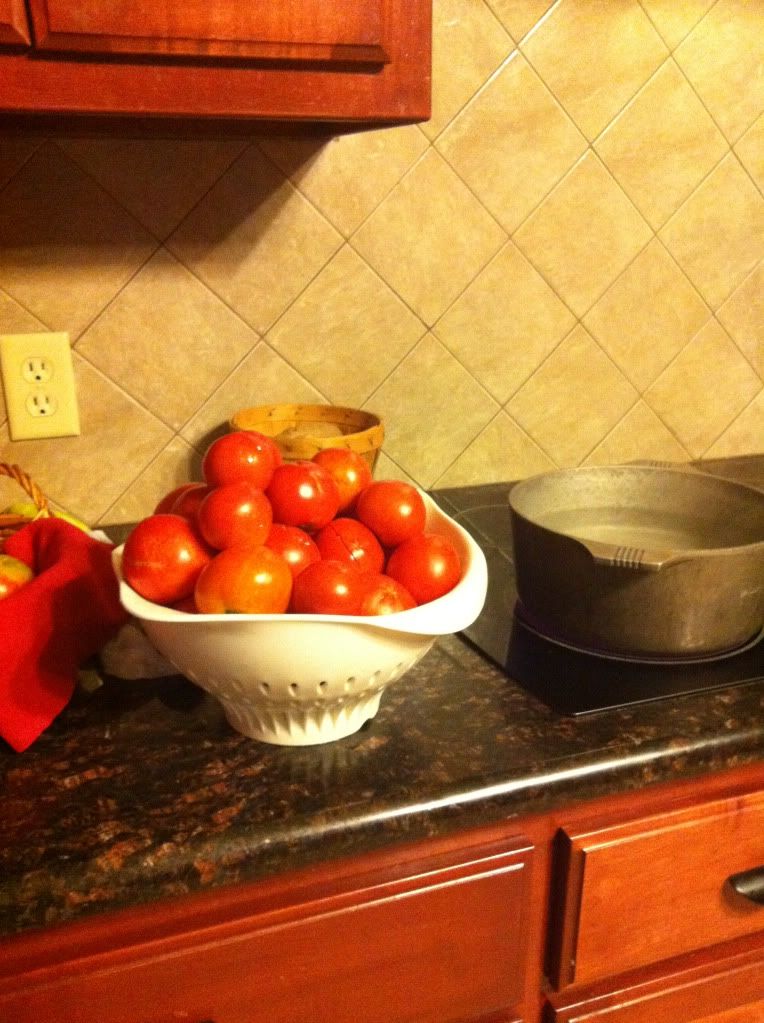
I had so many tomatoes this morning on the counter that I had to freeze them. In the picture above, I had already combined my tomatoes and had scored on the bottom of each one. I got my boiling water and my ice water ready. I blanched, peeled, and froze them. I got 6 small quart bags out of this. I also gave some to one of our friends last night. My 4 tomato plants have really been putting out. I am really not sure how many pounds each plant has yielded, but I bet it is over 10 pounds.

Tuesday, June 21, 2011

Cajun Watermelon Relish


Excuse my iPhone pics. They are not the best. I have an awesome camera and no time to use it or edit photos. One of these days...

Anyway, this picture above is what it looks like when you brine watermelon rind. It doesn't take as much watermelon rind as they say in the recipes. You cut the pink off. You can tell that I did not remove every last piece. It was fine. Then, you take a handheld grater and remove the rind. You can keep removing it, and it will have a slight green color. Since this was a double batch of my recipe, I added 2 cups of water and 2 tablespoons of canning/pickling salt. Refrigerate for 8 hours or more. I left mine in there for over one day because I had stuff to do.

This recipe calls for red and yellow sweet pepper. When you use those colored peppers, the mixture turns out beautiful. I grew my own bell peppers this year so I used the green. It was not as pretty, but it still tastes great.


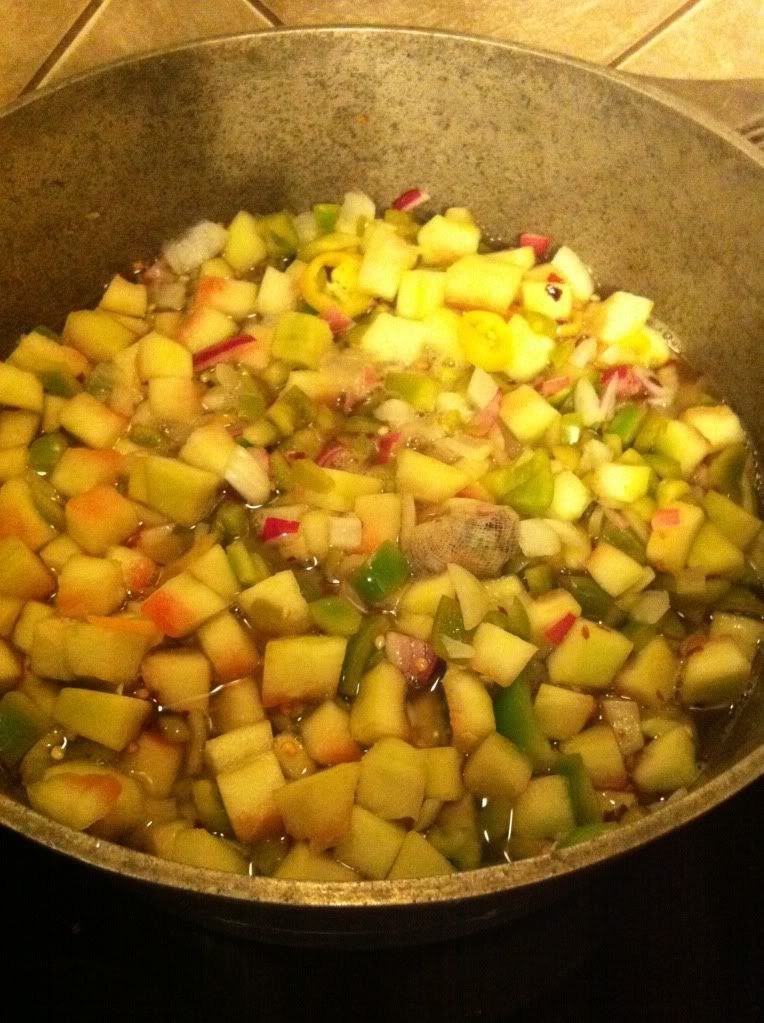
This is what my mixture looked like cooking in the pot. You can see my pickling spice cheesecloth bag in it. Yes, this is an ugly pot. I can't quit using it because it is so thick. I think it is third-hand. ha!Your house will smell pretty stout for a few hours after you do this. My girl thought it smelled good.

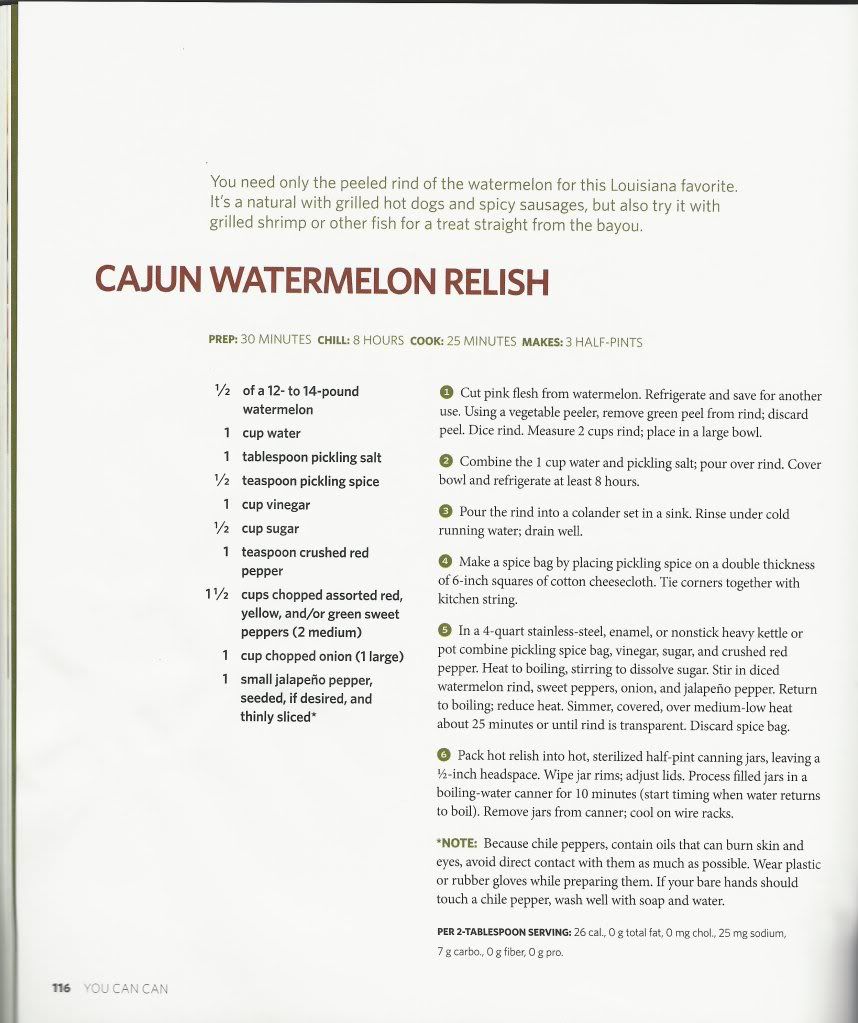
My recipe came from the You Can Can book put out by Better Homes & Gardens. That link went to the Amazon listing. This can also be purchased at Wal-Mart in the canning section.


I found that I had scanned this recipe in awhile back. It is in picture form. Click it to go the bigger picture.

It is very green due to the green bell pepper. 6 half pints and 1 itty bitty sampler.


On the right in the above picture is the same with the colorful peppers. I made this batch last year. That was probably Jalapeno Pepper Jelly on the left. Still, the same iphone camera.

Family updates & Garden stuff


Here is my little buddy, D sucking the ketchup off of his fries at the Macaroni Grill in Shreveport. He had a pretty great time sitting in a booster chair.

Alex seems to have a good time in D's tunnel. haha

D got a cowboy hat at Academy. He really loves it. He got a little fishing pole to go with it.

Here is my biggest baby, Grace, with her fish. She has been doing great at fishing lately.

Just a crazy face from me.

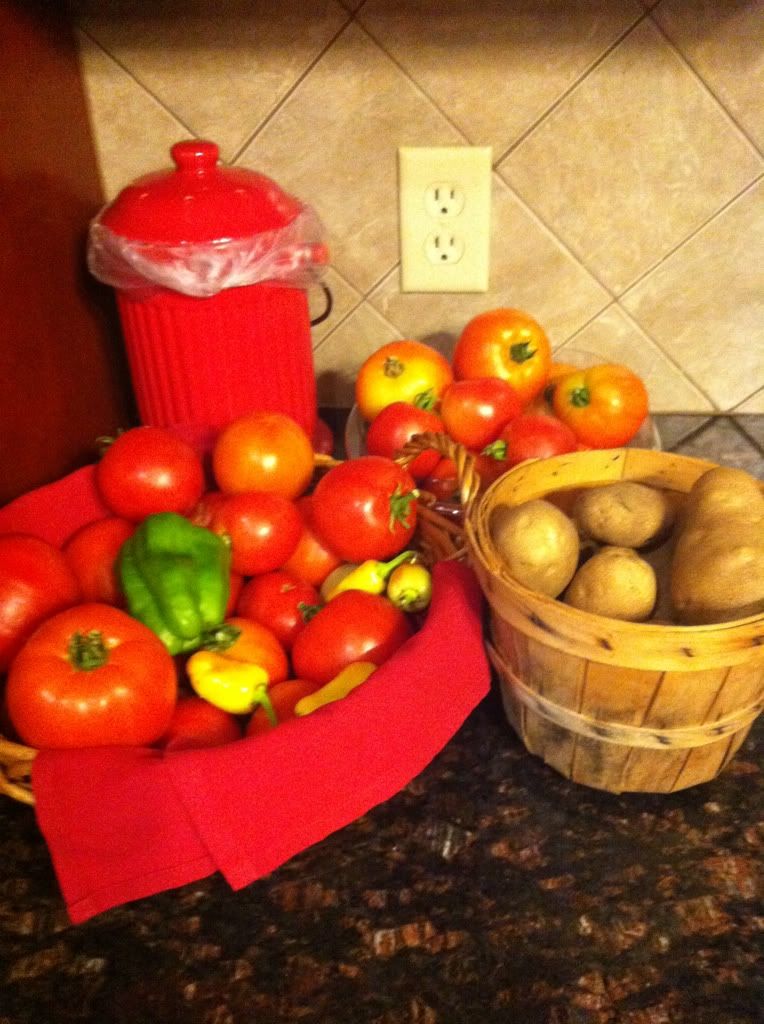
This is from 2 days of picking. It was close to 10 pounds of tomatoes. That is from only 4 tomato plants. We were pretty blessed with great weather at the beginning of our growing season. I have been able to make salsa, eat tomatoes everyday, give away 5 small sacks to people, and freeze 4 quarts. It's not over yet either.

I will leave you with this great video of one of my fave girl folky bands, The Be Good Tanyas. This is a good upbeat song that is fun to drive to when you are on a road trip. The Littlest Birds


Gonna make a quick blog that just contains stuff about Cajun Watermelon Relish.

Wednesday, June 15, 2011

Maters and Taters

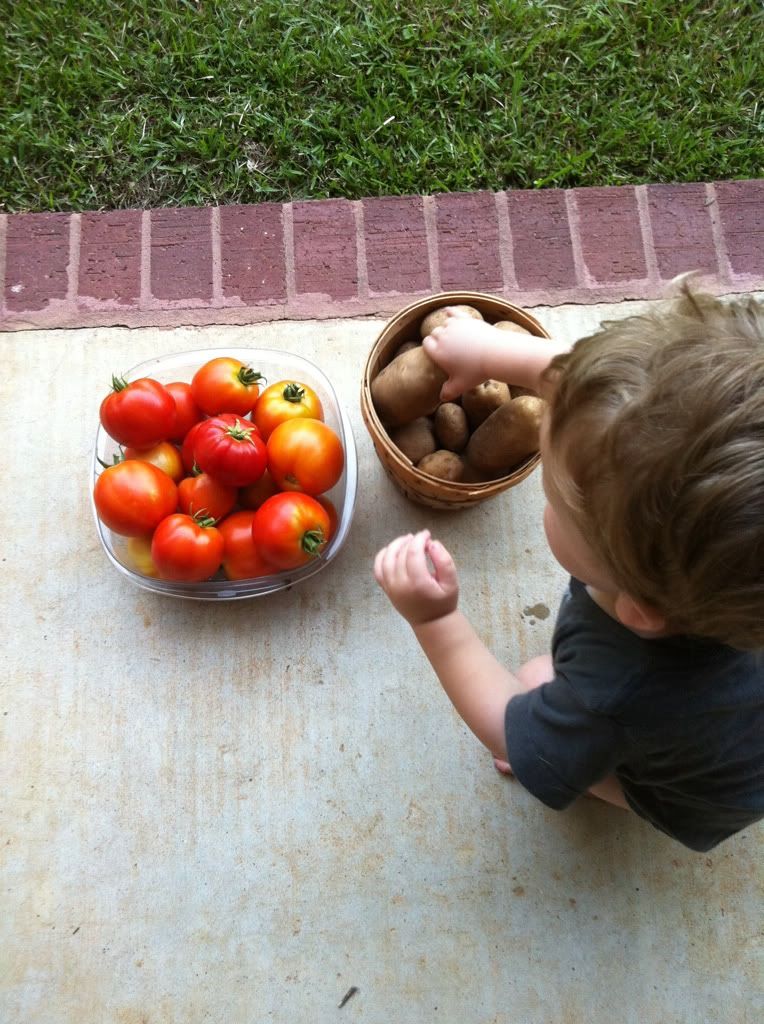
Here is my harvest today. This is from 2 potato plants and 4 tomato plants. I just picked tomatoes 2 days ago. They are turning quick. Woohoo! D can't resist these taters.


I stopped at a farmer's fruit stand in Pittsburg today. I got okra, cucumber, squash, onions, and peaches for $17.00. If you saw in person the amount of food you get for your money, you would be surprised. When you grab your bag, it is heavy.

Tuesday, May 24, 2011

Today's Harvest


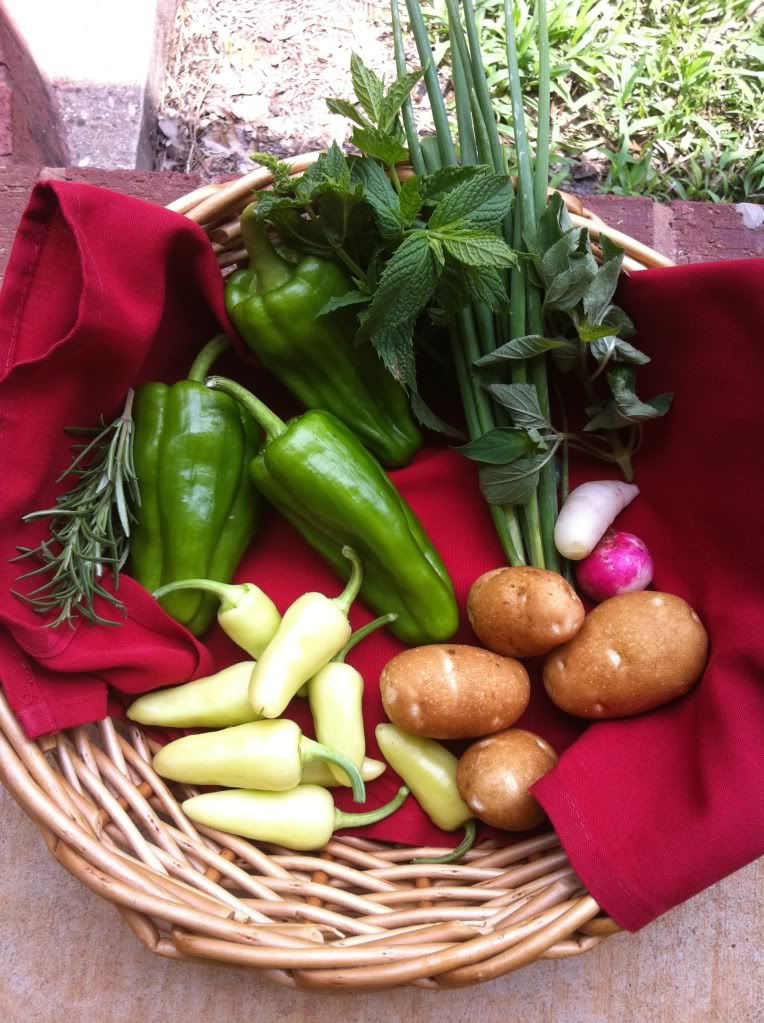
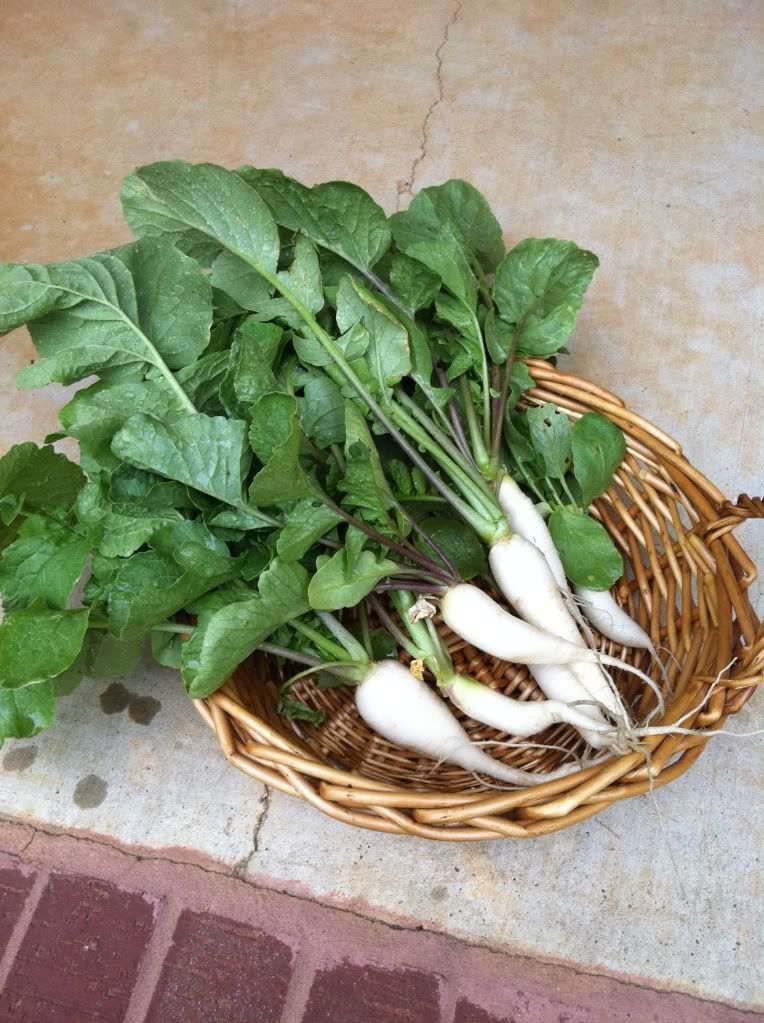
I got a few bell peppers, handful of peppers, potatoes, white and red radish, rosemary, mint, pineapple sage, and a few green onions. Even though my harvest is small, it is enough to add to my cooking for the next few days.


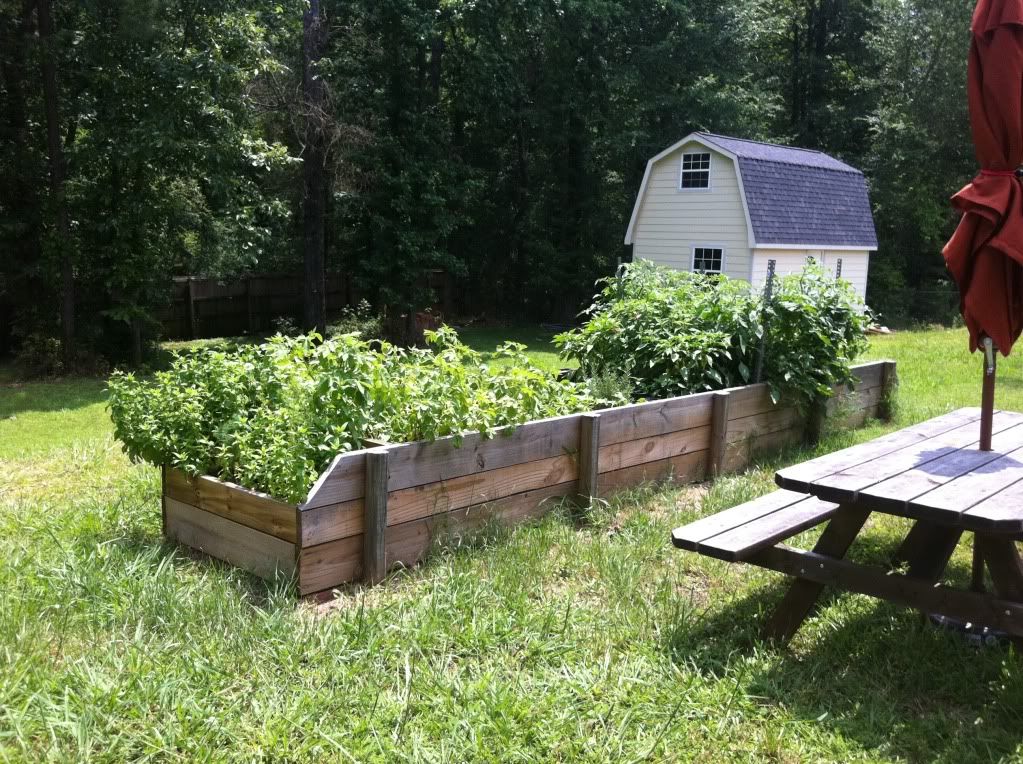
Here is what the little garden looks like now. I have a few other various things planted in the yard in containers. Our 4 tomato plants are covered in tomatoes. Raise a few things even if you don't want to plant rows and rows like old traditional gardening. The reward will be tasty.

Wednesday, April 27, 2011

Potatoes and Tomatoes Update

My little garden is doing pretty well. I have pulled all of my first crop of radishes out of the ground. I have replanted them as I was pulling them. I hope to get another cycle of radishes.

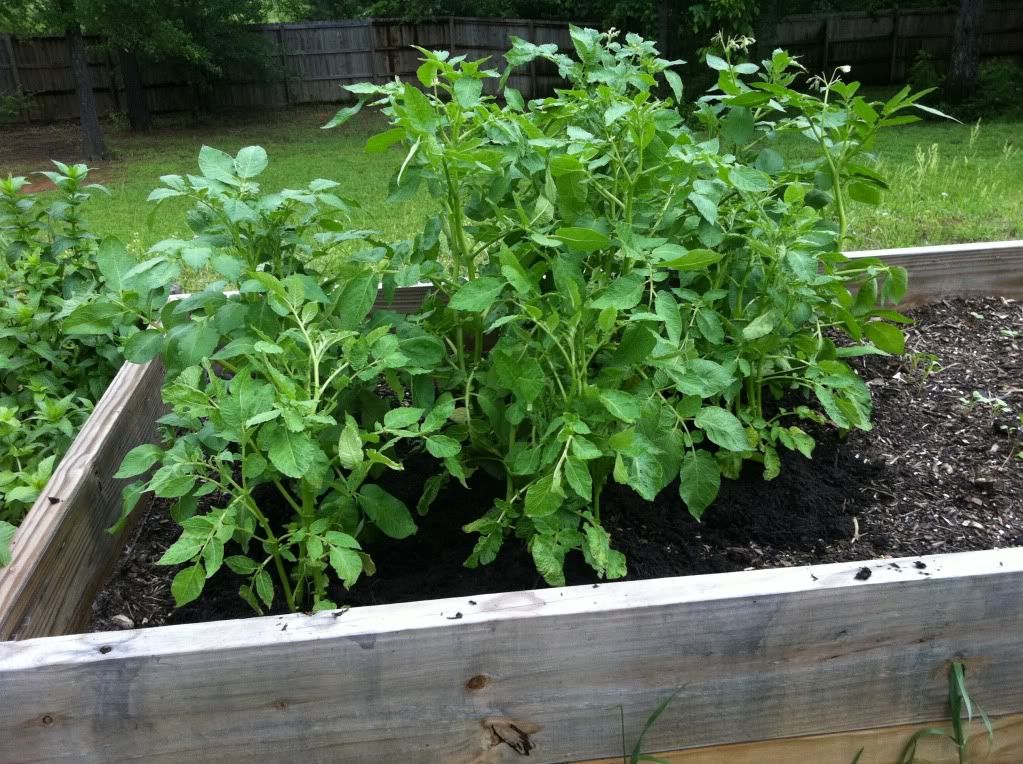
Some of my Potatoes

I added another bag of soil trying to hill up these potatoes. I bet I have to keep adding because they are tall.

4 Tomato Plants (Better Boy)

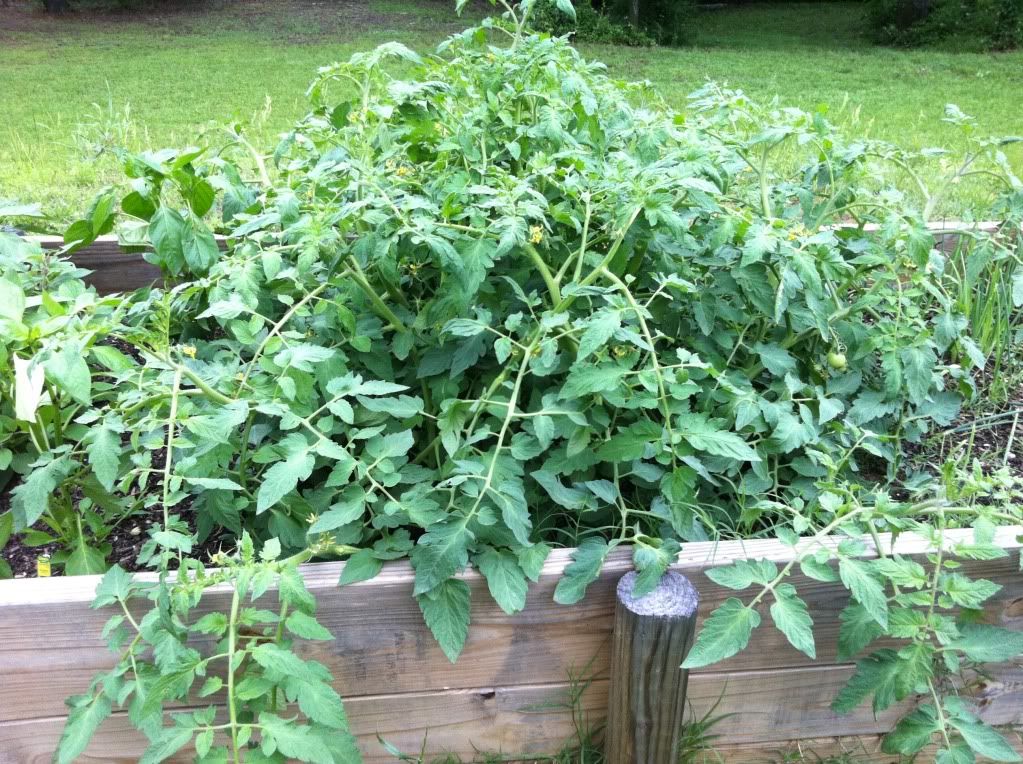
Believe this or not, but this is 4 tomato plants that have sprawled out and aren't staked or caged. I am not sure if I will have to stake them anytime soon. They have made one giant bush. Ha! They are starting to get little tomatoes all over them. I have hilled them and pulled off the lower branches. I am constantly pulling off the tomato suckers. I was going to cage them, but I waited too late. There is no way to force these into cages at this point.

I currently have this growing (not shown): radishes, crookneck squash, swiss chard, cucumber, bell pepper, some kind of pepper, jalapeno, spinach, onion, garlic, lettuce, purple beans, spaghetti squash, mint, cilantro, dill, rosemary, pineapple sage, and strawberry. Plus, 11 potato plants and 4 tomato plants.

I want to note that I do not have any of this planted in the ground. Our yard does not have topsoil so we have found other ways to grow.

Monday, April 18, 2011

Harvesting More Radishes

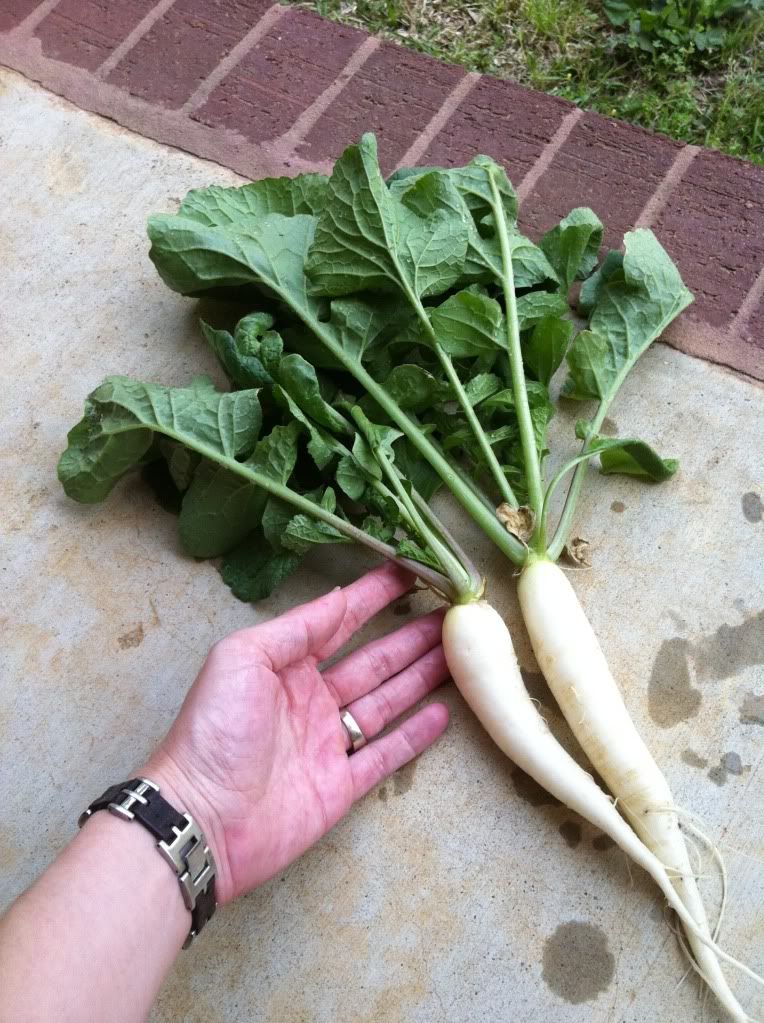
I have been able to get a few good radishes here and there, but this was probably my biggest harvest. I have a small area designated for radishes. I ended up using more space on potatoes than I wanted to. These radishes are not near as long as the first ones. The first ones were around an inch thick and 5 inches long.


I took my dad's advice and planted new radish seeds where I pulled them out. I also have another rotation of radishes growing in an old broke down swimming pool. Not sure if it will be deep enough for them to get so long. This time, I planted the small red round radishes. I think they were called Sparklers.

My dad said that my grandmother used to eat the green tops from radishes. They are known to have more vitamin C than the actual radish. I also heard you can juice it.

If you are interested in learning how to grow radishes, you can read about it on Mother Earth News.

Wednesday, April 13, 2011

Crafty Catchups

Over the last week, I have been so busy that I hadn't had a chance to catchup. So, here is some of the latest.

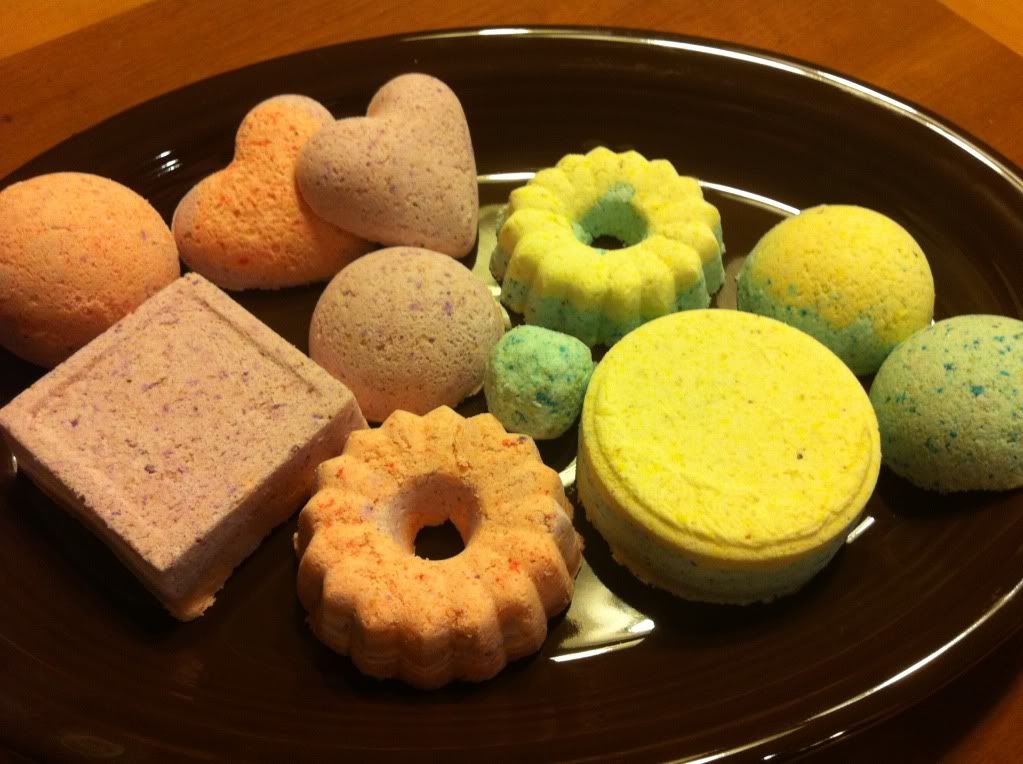
I tried my hand at some colorful bath bombs. They were fun.

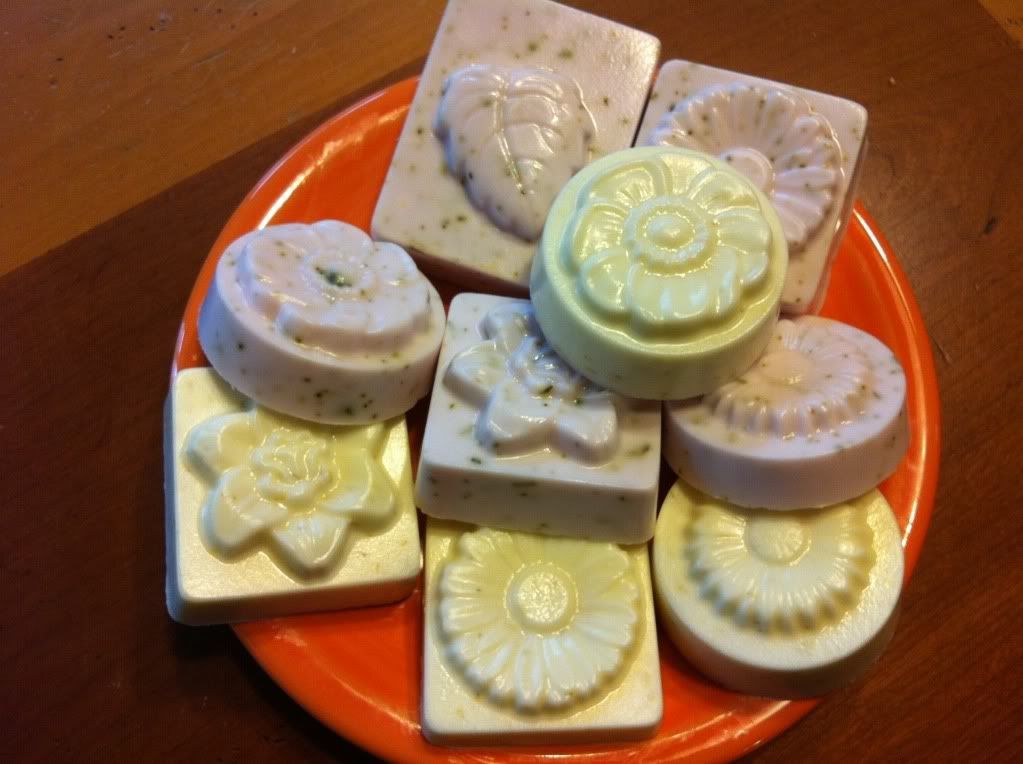
I also made some more melt and pour soaps. I added some good stuff in these. One had chamomile and honey added and the other had some rose buds and green tea. I am getting up the nerve to try the lye soap making.

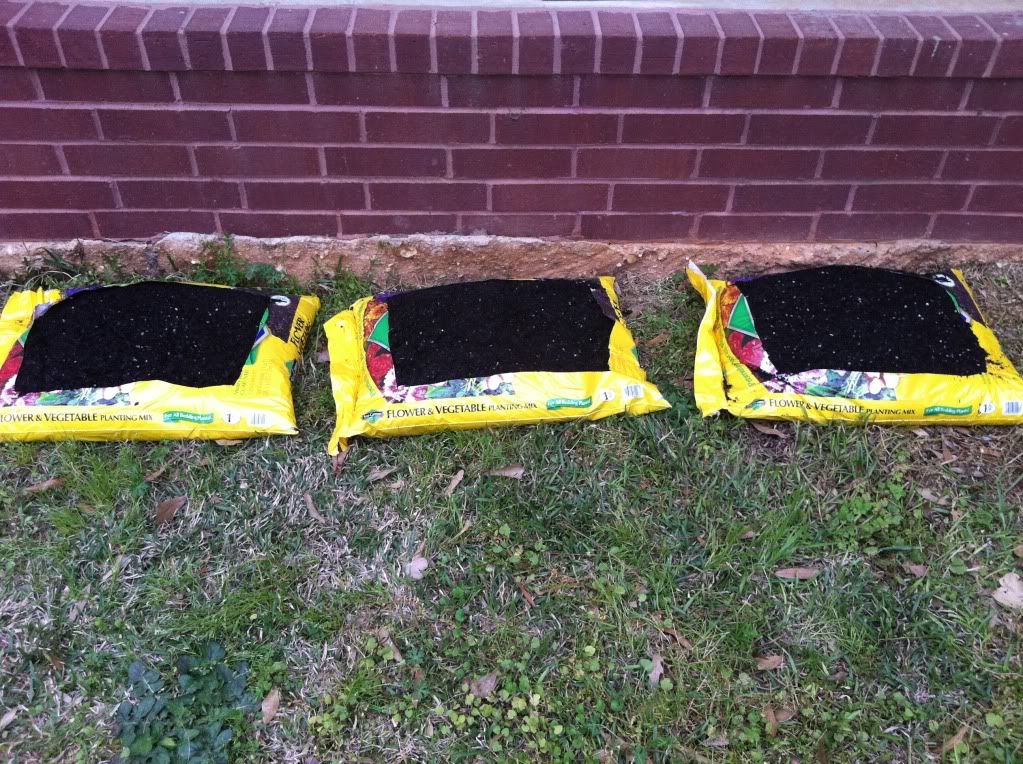
A week or two ago, I decided to try planting in some bags of soil. Can it be? No digging up my clay. This is what it looked like when I planted. I already have stuff coming up. I will get updated pics soon. I will have to show you a pic of the broke down baby pool I planted salad stuff in. Recycling at its best - redneck style!

My radishes have started getting big enough to eat for sure. The taste is great! I am going to attempt to cook some of these. I read that they are like an onion and will caramelize. You can grill them in some foil. Look it up.
Last weekend, I decided to get something on my baby's windows. We only had window blinds. I wanted to do something that looked like a toddler and less infant. I got 6 yards of a robot fabric, and I am on a mission to add it to everything in his room. I started with adding material trim to some valances. The sheers on the window really helped. I plan on making a comforter, and some pillows or throw animals. I should have enough material to go awhile.

Friday, April 01, 2011

Organic is Bigger


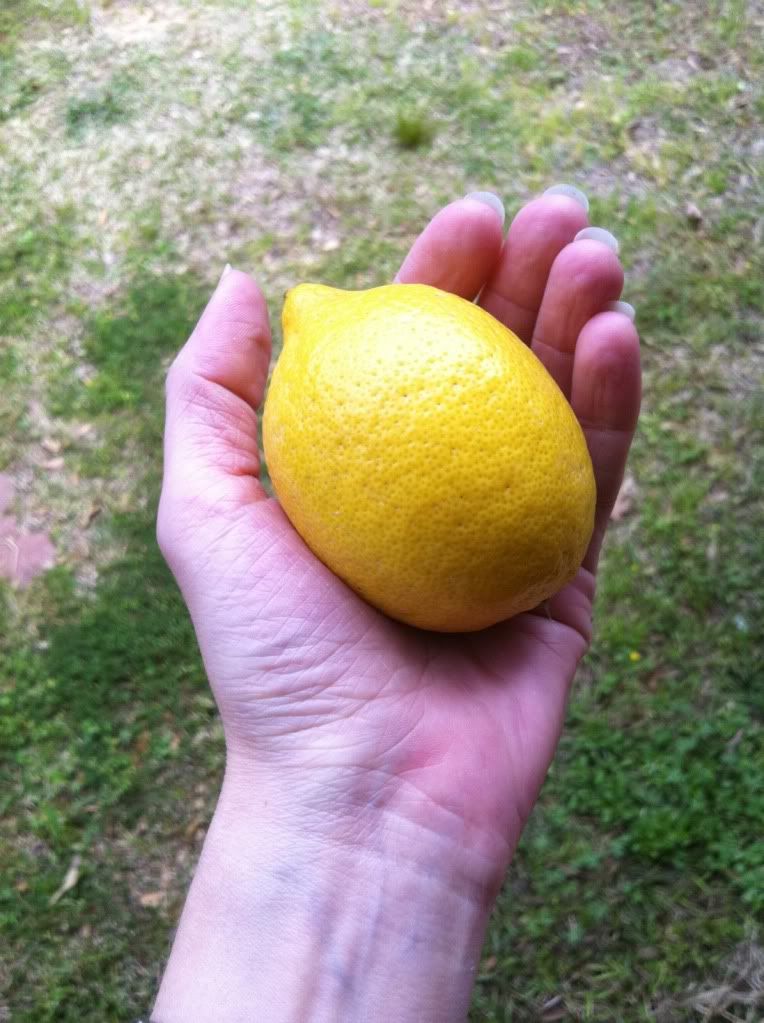
This is not trick photography. This lemon came in my biweekly organic shipment. It was grown in California. Compared to the shriveled small lemons we get from our stores, this lemon looks Huge to me. The cucumber that came in the shipment was at least a foot long.

I have to give credit for the awesome produce to Papa's Organic.

Tuesday, March 15, 2011

Quiche on the Fly

I am still using many great organic vegetables since I received my awesome biweekly combo box from Papa's Organic. I had to look up how to use Swiss Chard because I had never cooked it or ate it, that I know of. I received a bunch of red chard and a bunch of green chard.

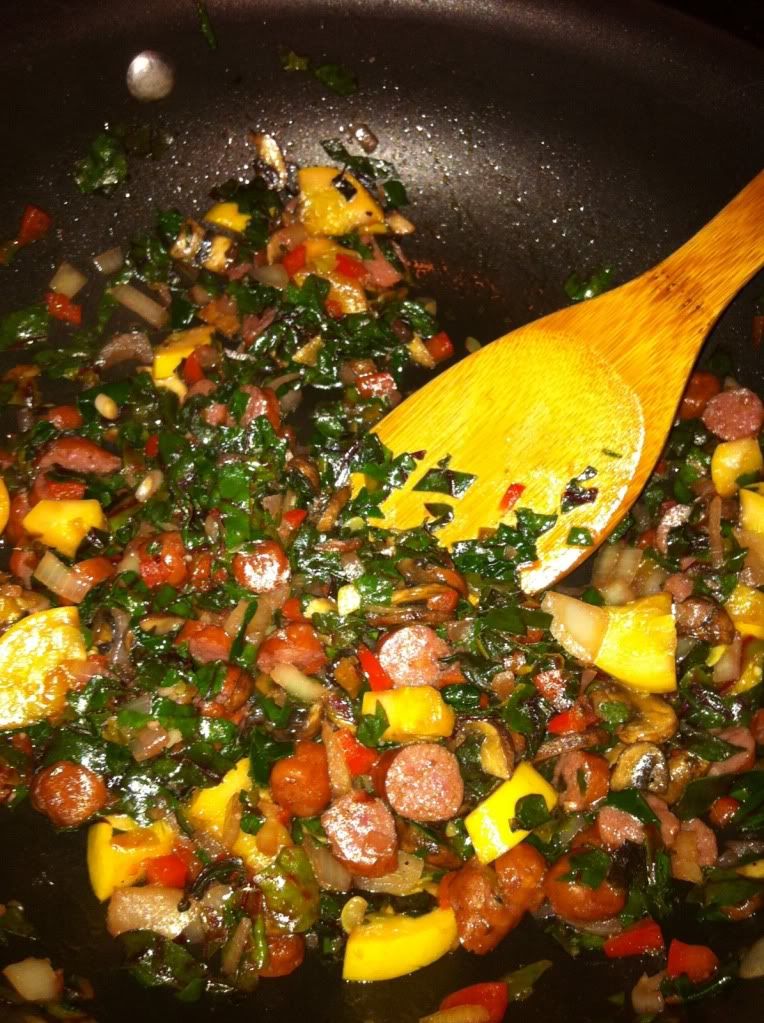
Sauteed Veggies
I found this recipe on Food.com. It is for Crustless Swiss Chard Quiche. (I did not use the stems of the Chard) I changed it up a bit when it came to the vegetables because I have a ton to use right now. I sauteed 2 cups of Red Chard, handful of spinach, 1/2 small onion, 1/4 red bell pepper, 4 mushrooms, 1/2 yellow crooked neck squash, 1 clove of garlic, and about 12-15 little smokies cut in small pieces. I sauteed the veggies and smokies in olive oil and seasoned it with salt and pepper. I just used the kind of cheeses I had: Cheddar and Parmesan. I followed the rest of the directions.

Raw mixture ready to go in oven.
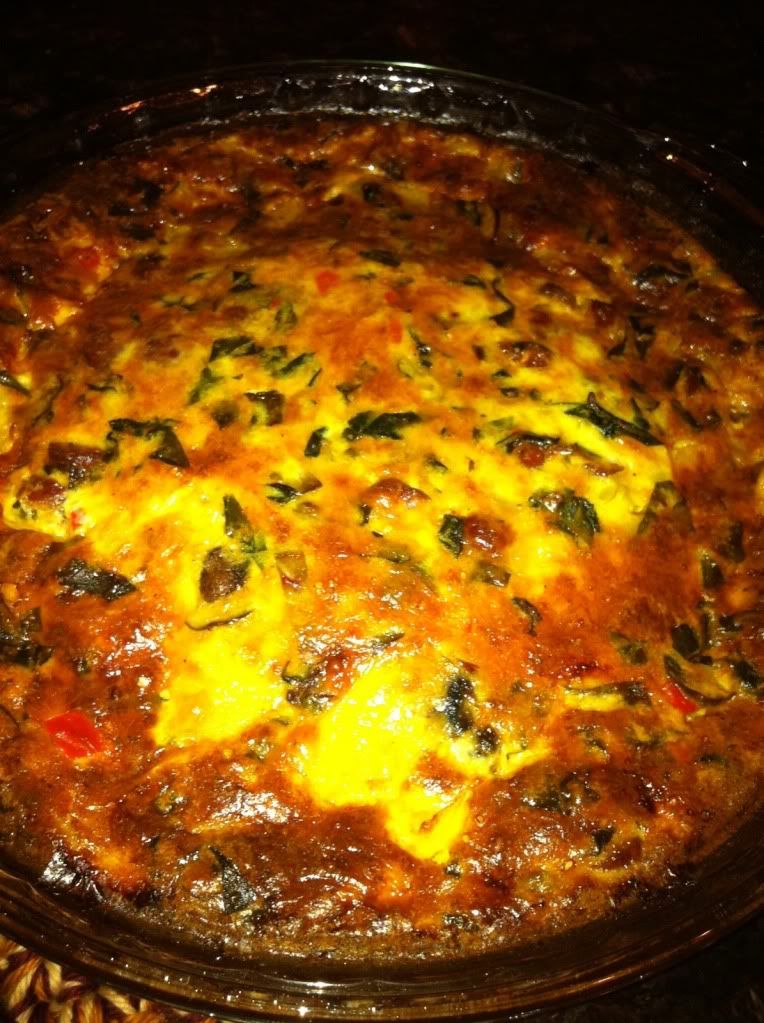
I popped it in the oven for 40 minutes, and it was super yummy to me. I am the only quiche lover in the house so I got plenty. :)
Garden Quiche - all browned!

Thursday, March 10, 2011

Organic Delivery and Zuppa Toscana

I was so happy when I woke up. My bi-monthly delivery from Papa's Organic came in by FedEx on my doorstep. It was everything I hoped for and more. It was packed nicely with shredded paper and cold packs and sealed in an insulated foil bubble wrap.
This amount shown was a Medium sized box of Veggie and Fruit Combo. It contained: zucchini squash, 1 bunch kale, 1 bunch spinach, 1 bunch Red Chard, 1 bunch Green Chard, 4 bell peppers (3 red & 1 green), avocado, sack of new potatoes, 2 apples, 1 yellow grapefruit, 2 yellow onions, 3 red onions, bag of mushrooms, bananas, and pack of blueberries. Awesome! 40 Dollars and worth it to me.

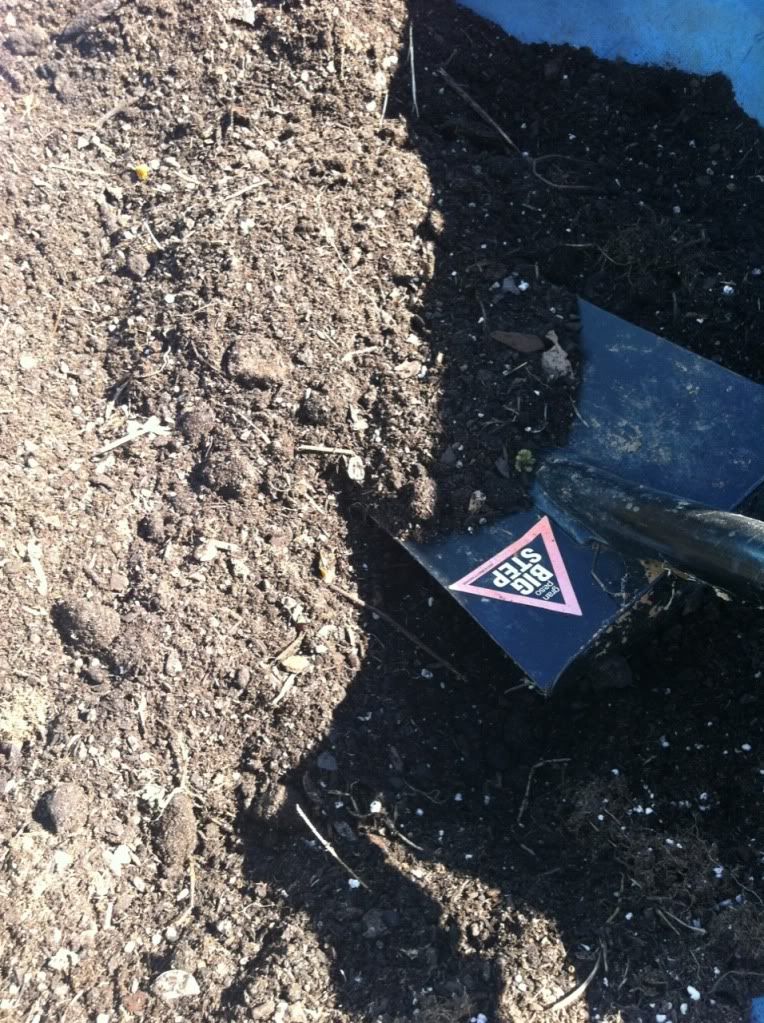
This called for a cleaning of my fridge. I started gathering all of my old produce that needed to go. I even added the shredded paper that was with my veggie shipment in there. I got it ready for my compost tumbler. Today was the day I emptied my compost from last season in my garden bed and started a new batch. You can put almost anything in compost except for plastic, meat, and dairy. We have put everything in ours from food, hair, junk mail, paper from our shredder, dryer lint, and grass clippings. I also start mine with a little compost starter.

Here is what my dirt looked like when I removed it from the tumbler. Yep, I made that dirt.
Hard to believe it came from all of that junk I kept throwing in there. Tea bags and Coffee grounds and so much more!
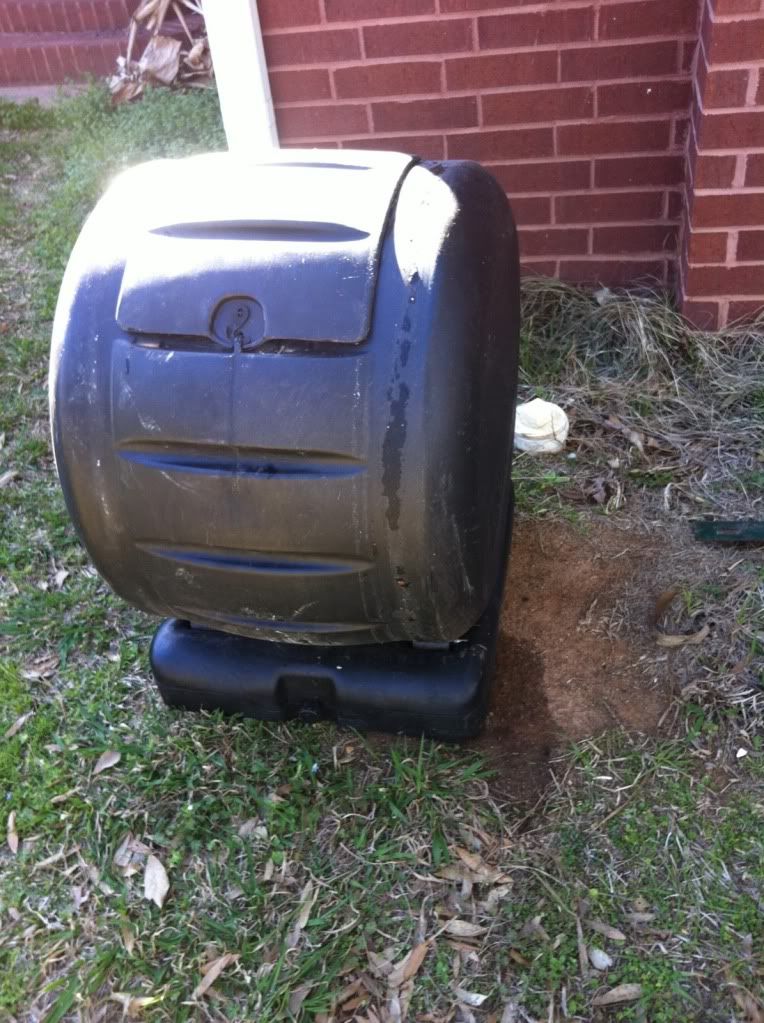
Here is a picture of my tumbler I ordered from Amazon. It is called an Envirocycle Composter. It's pretty slick. The bottom can catch compost tea. It comes totally put together. It has rollers where it sits on so you can roll the tumbler to mix it. Sit it in the sun and it will make some dirt. I am going to get another one this year so I can have two batches during the summer time.

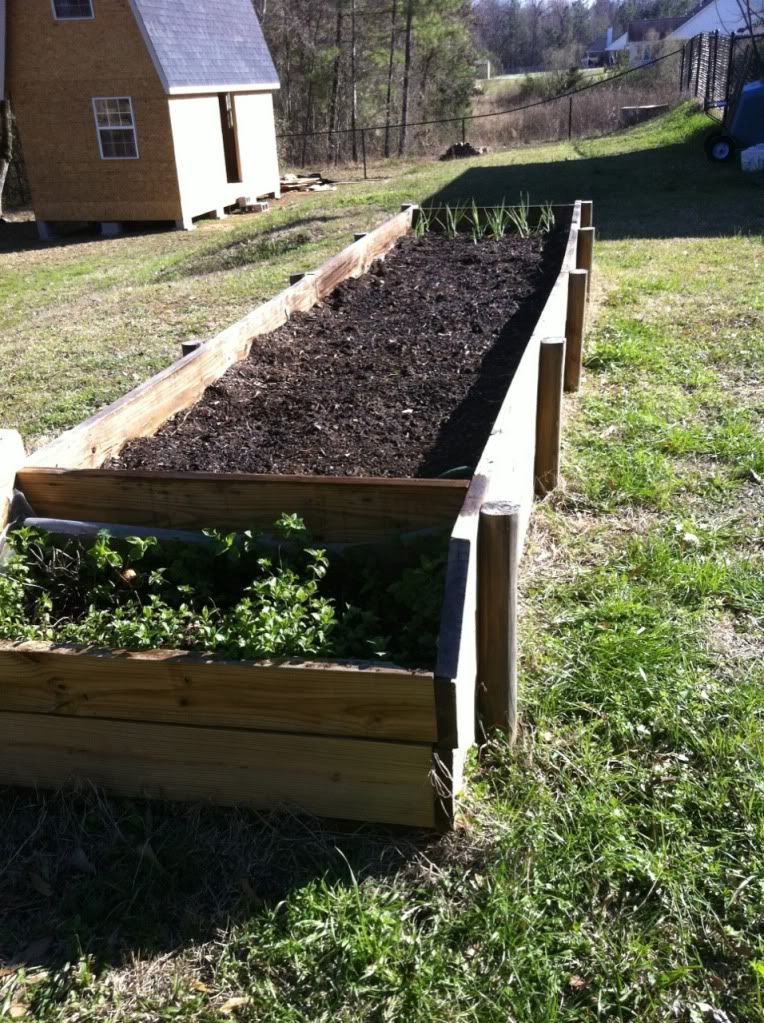
I added my compost to my little above ground planter that Danny and friends built for me. You can see in the background that Danny's office is coming along nicely.

I decided to make some of my favorite soup with some of my great organic veggies that came in. I made Zuppa Toscana. It is the one they sell at Olive Garden. You can get the recipe here.
This was a shot of my last ingredients to put in. The Kale was already chopped and the cream was waiting. I love that Pink Himalayan Salt. After it was all done, here is what my bowl of soup looked like. Hope yall enjoy!